Viewing entries in
sewing

Art Deco style screen printing!

1 Comment

Art Deco style screen printing!

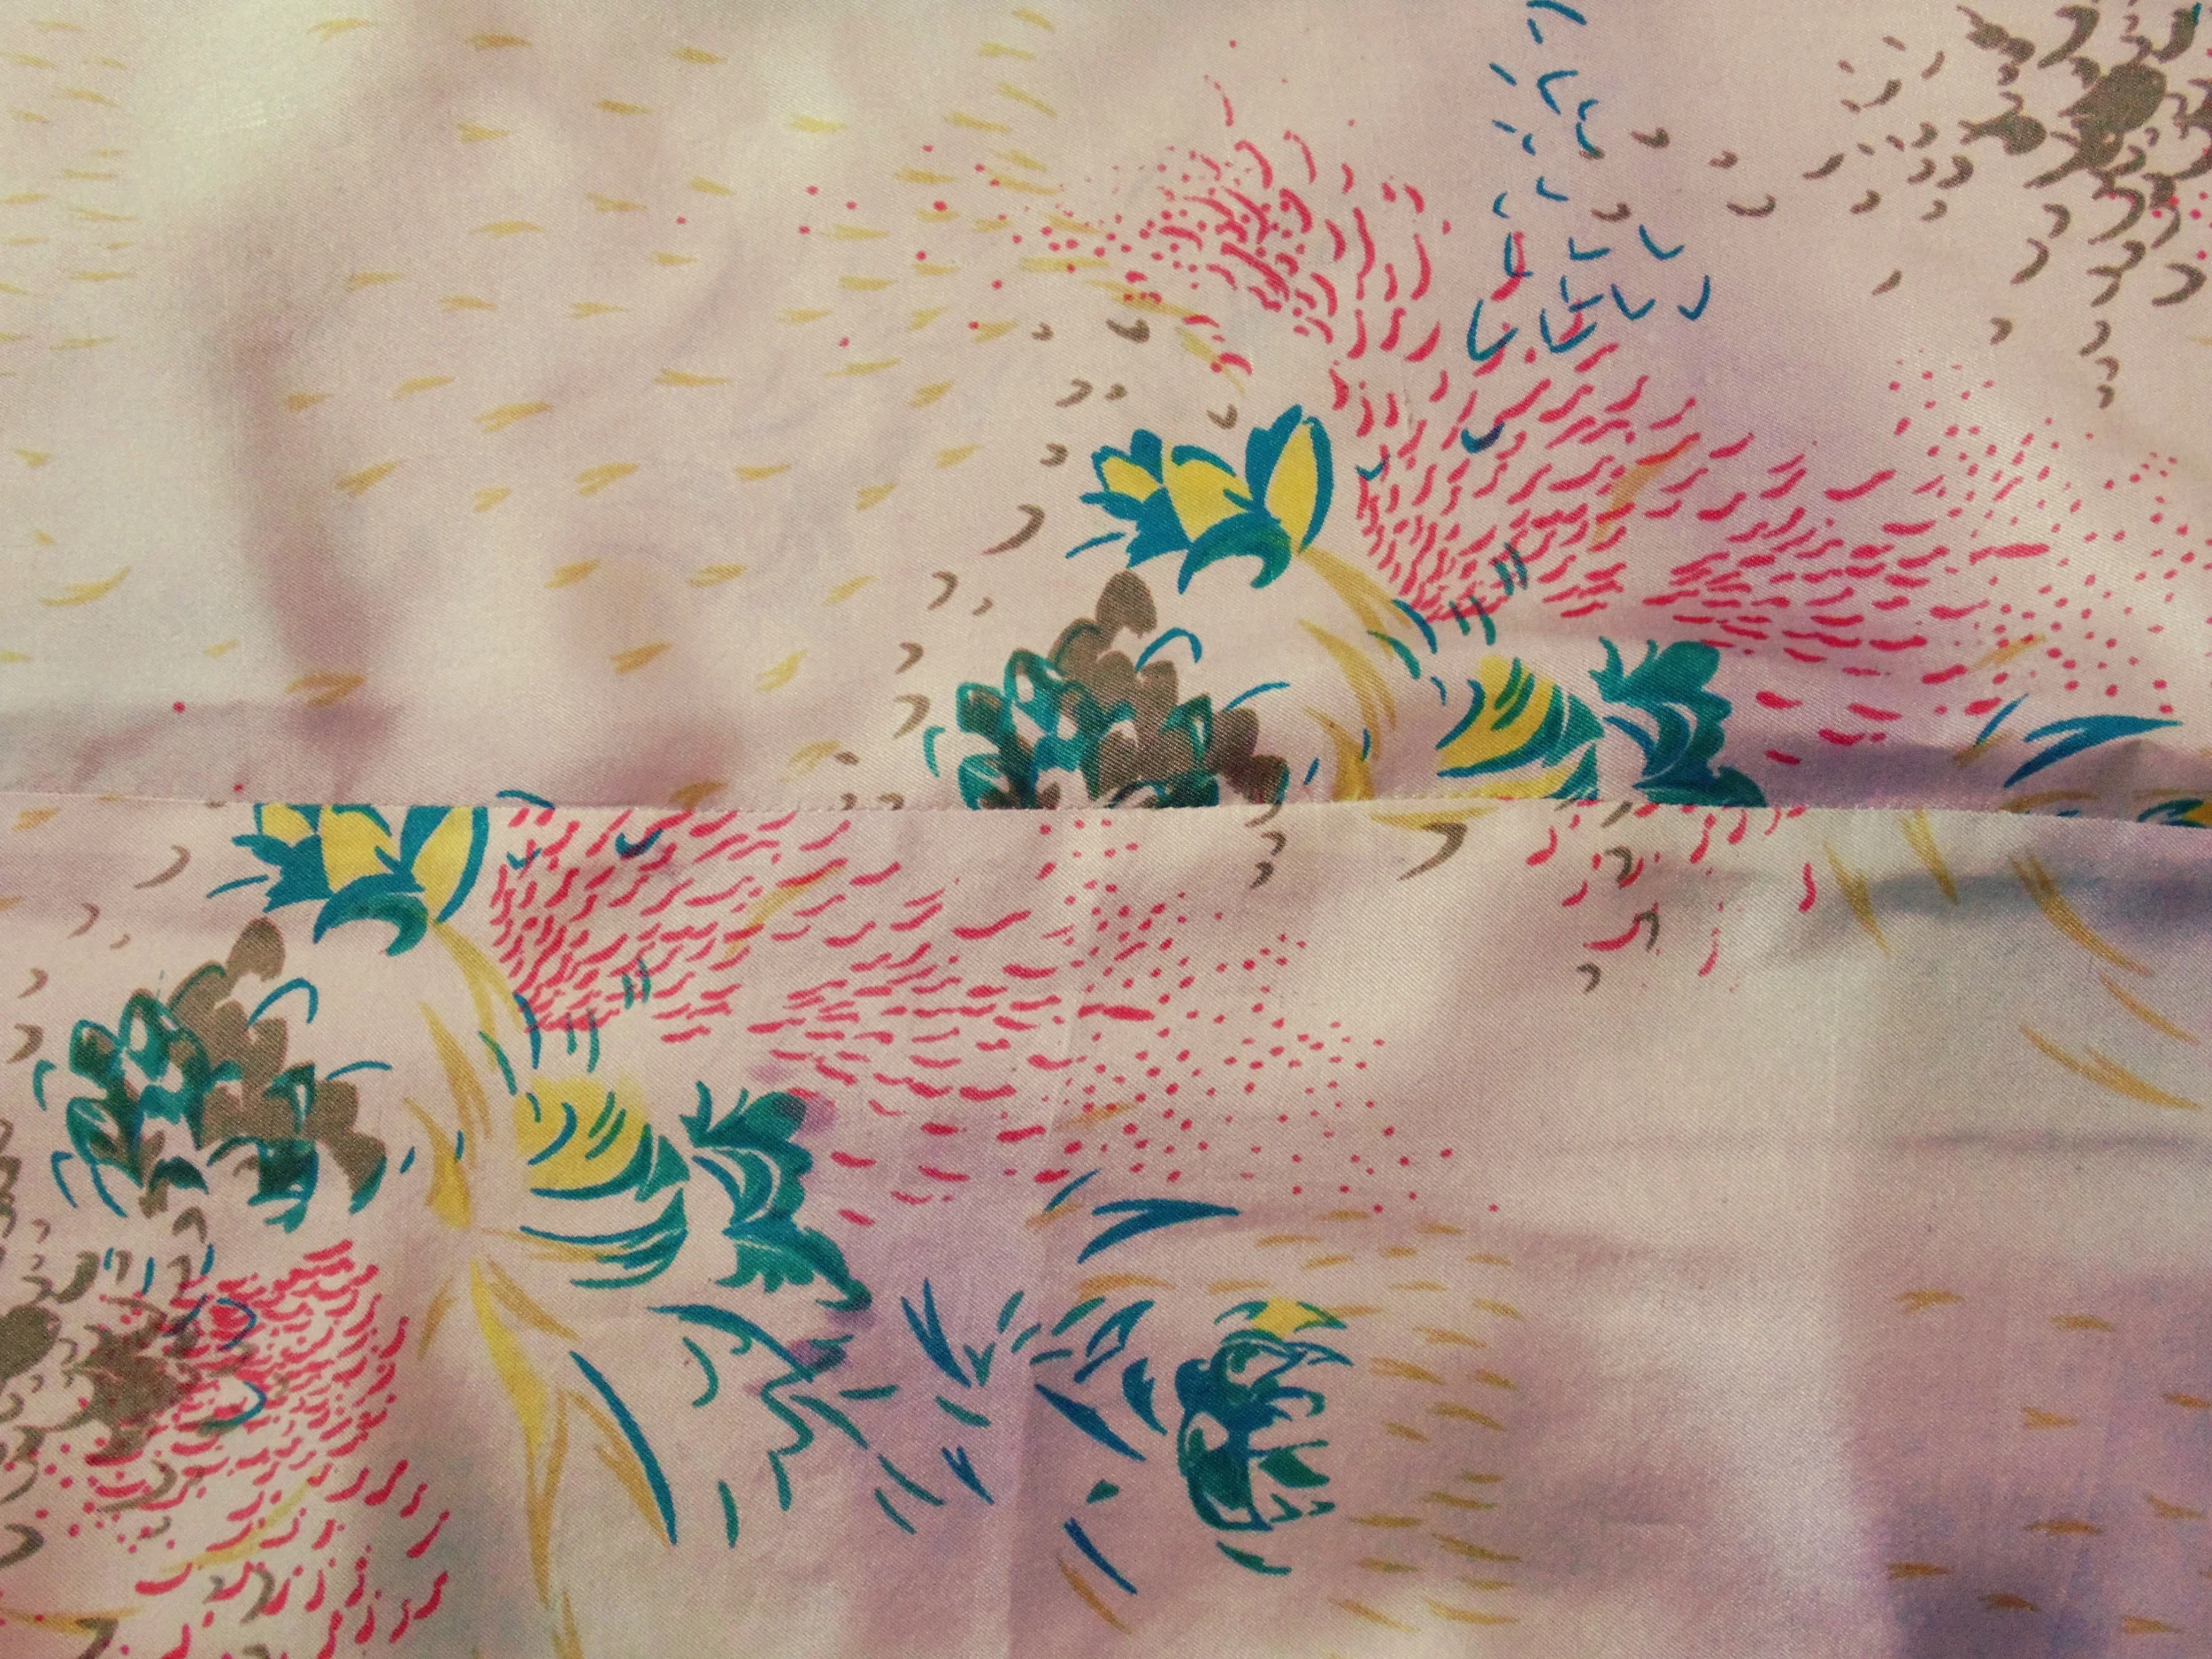
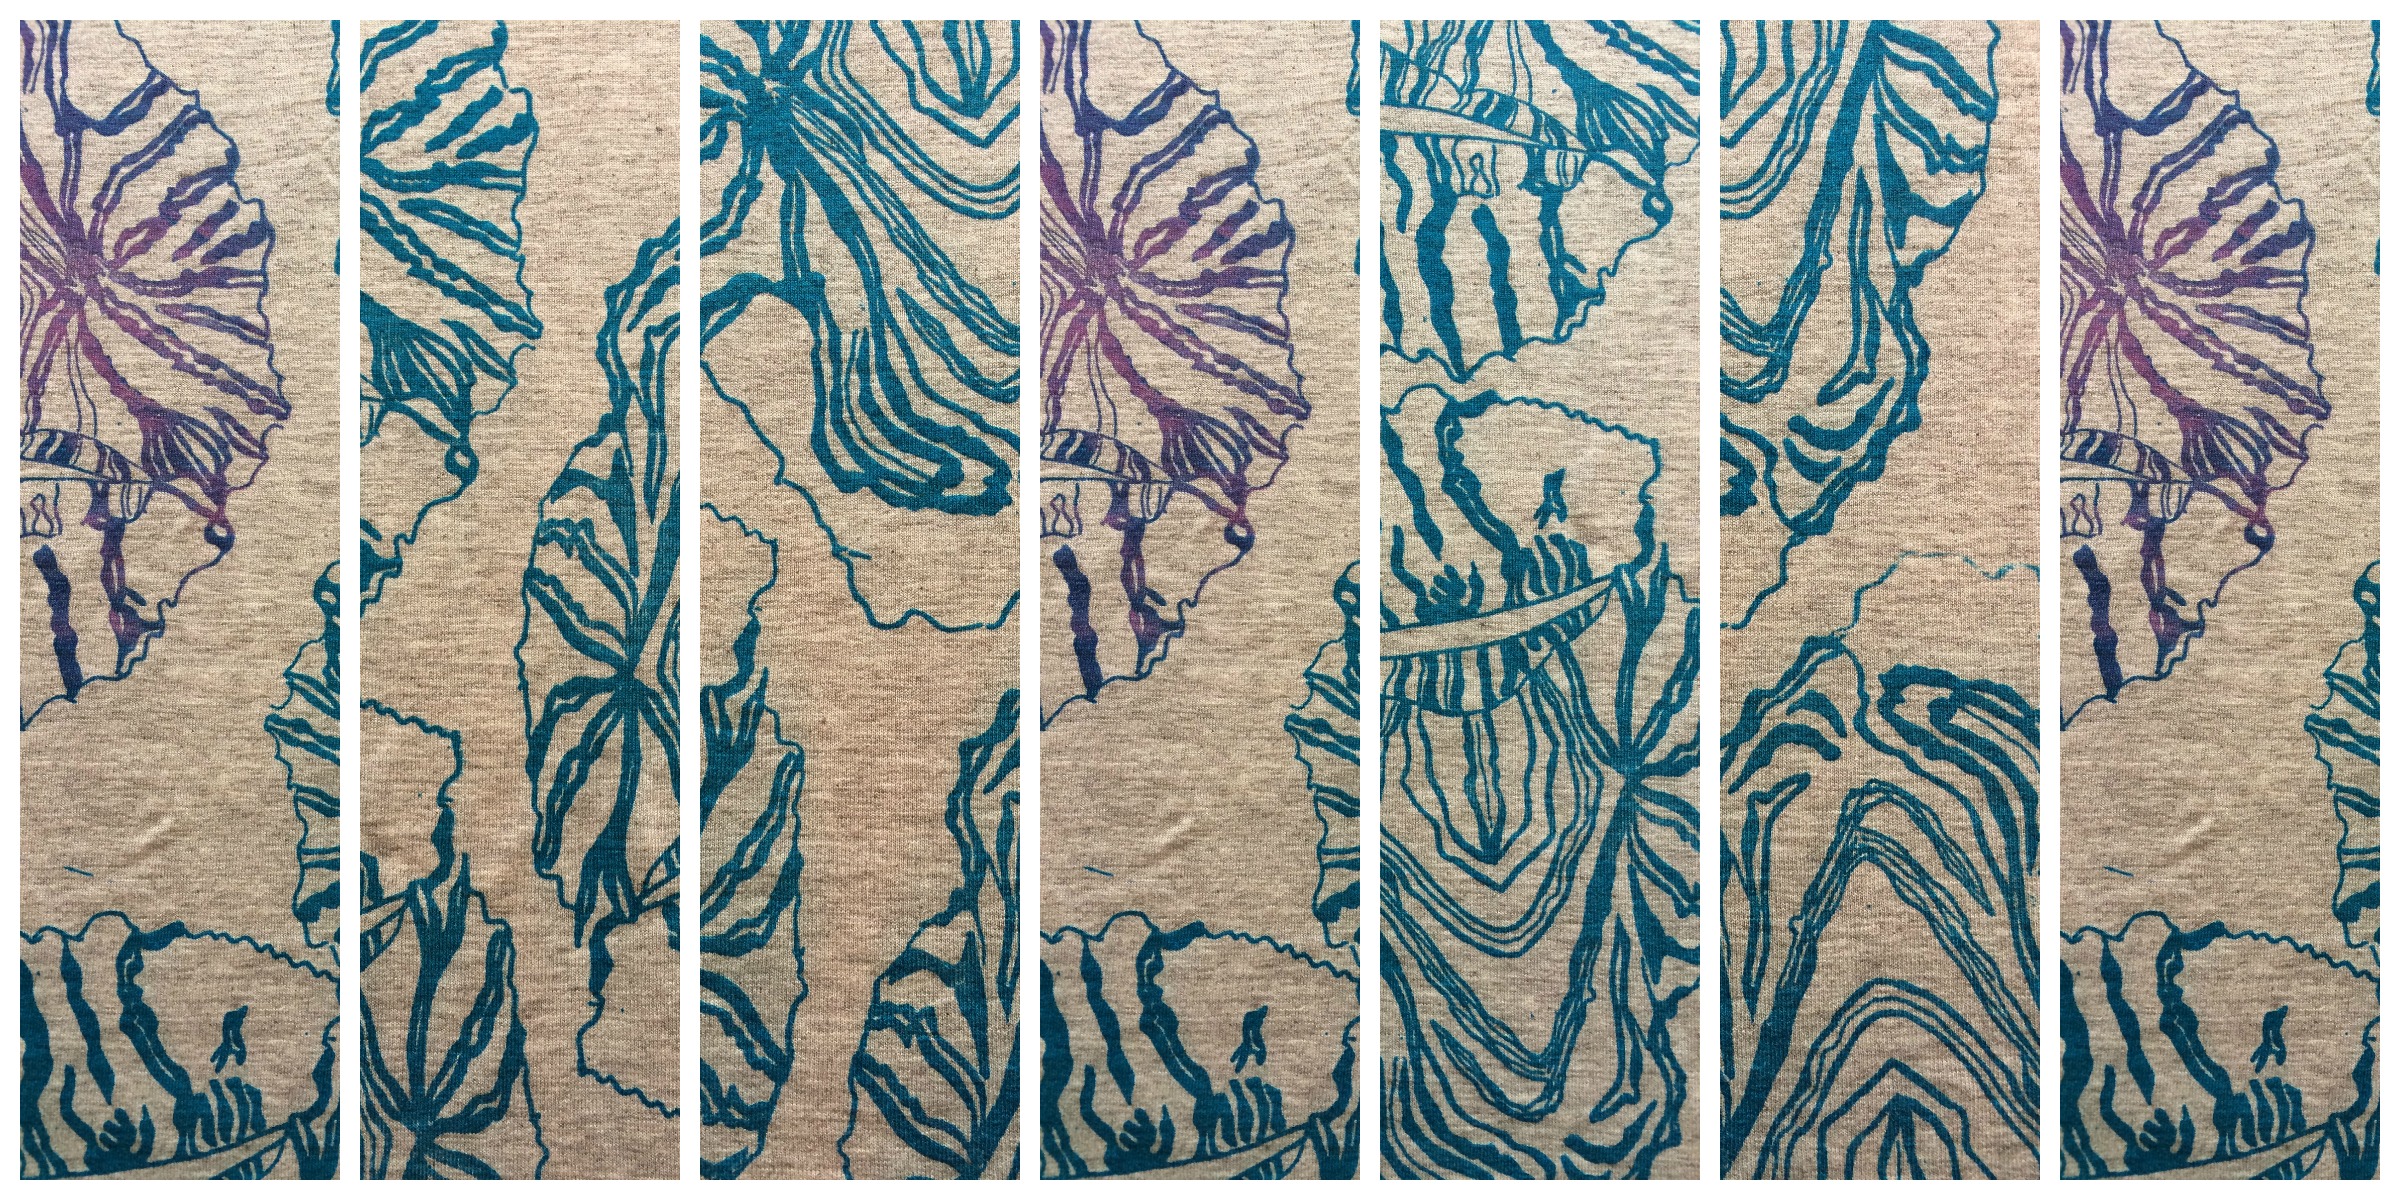
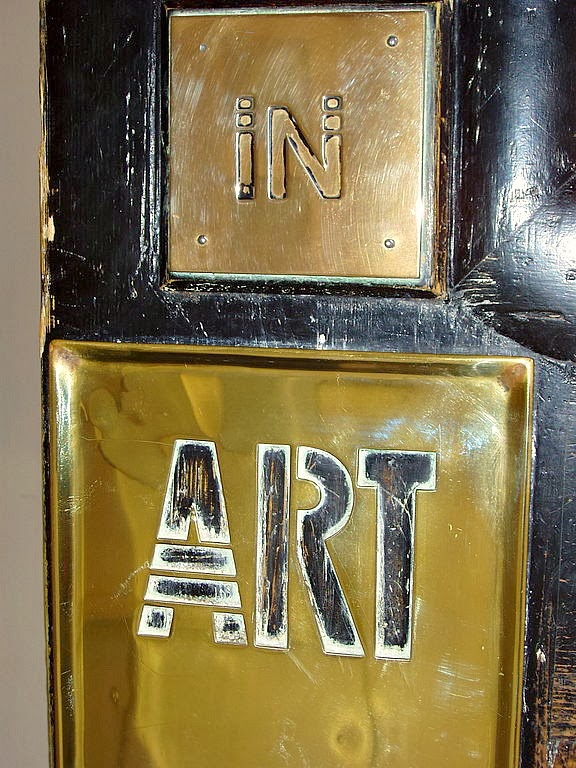
I absolutely love Art Deco and the style of Charles Rennie Mackintosh. The different shapes and marks used in many of his designs were perfect inspiration for a new screen print design. One of Rennie Mackintosh's famous projects was the Glasgow School of Art in Scotland, and I used the school signs and the library lampshades to create an effective design that could be used with a screen print. 

The final design is quite versatile and can be printed in repeat in rows, spaced blocks or used to create different pattern effects.

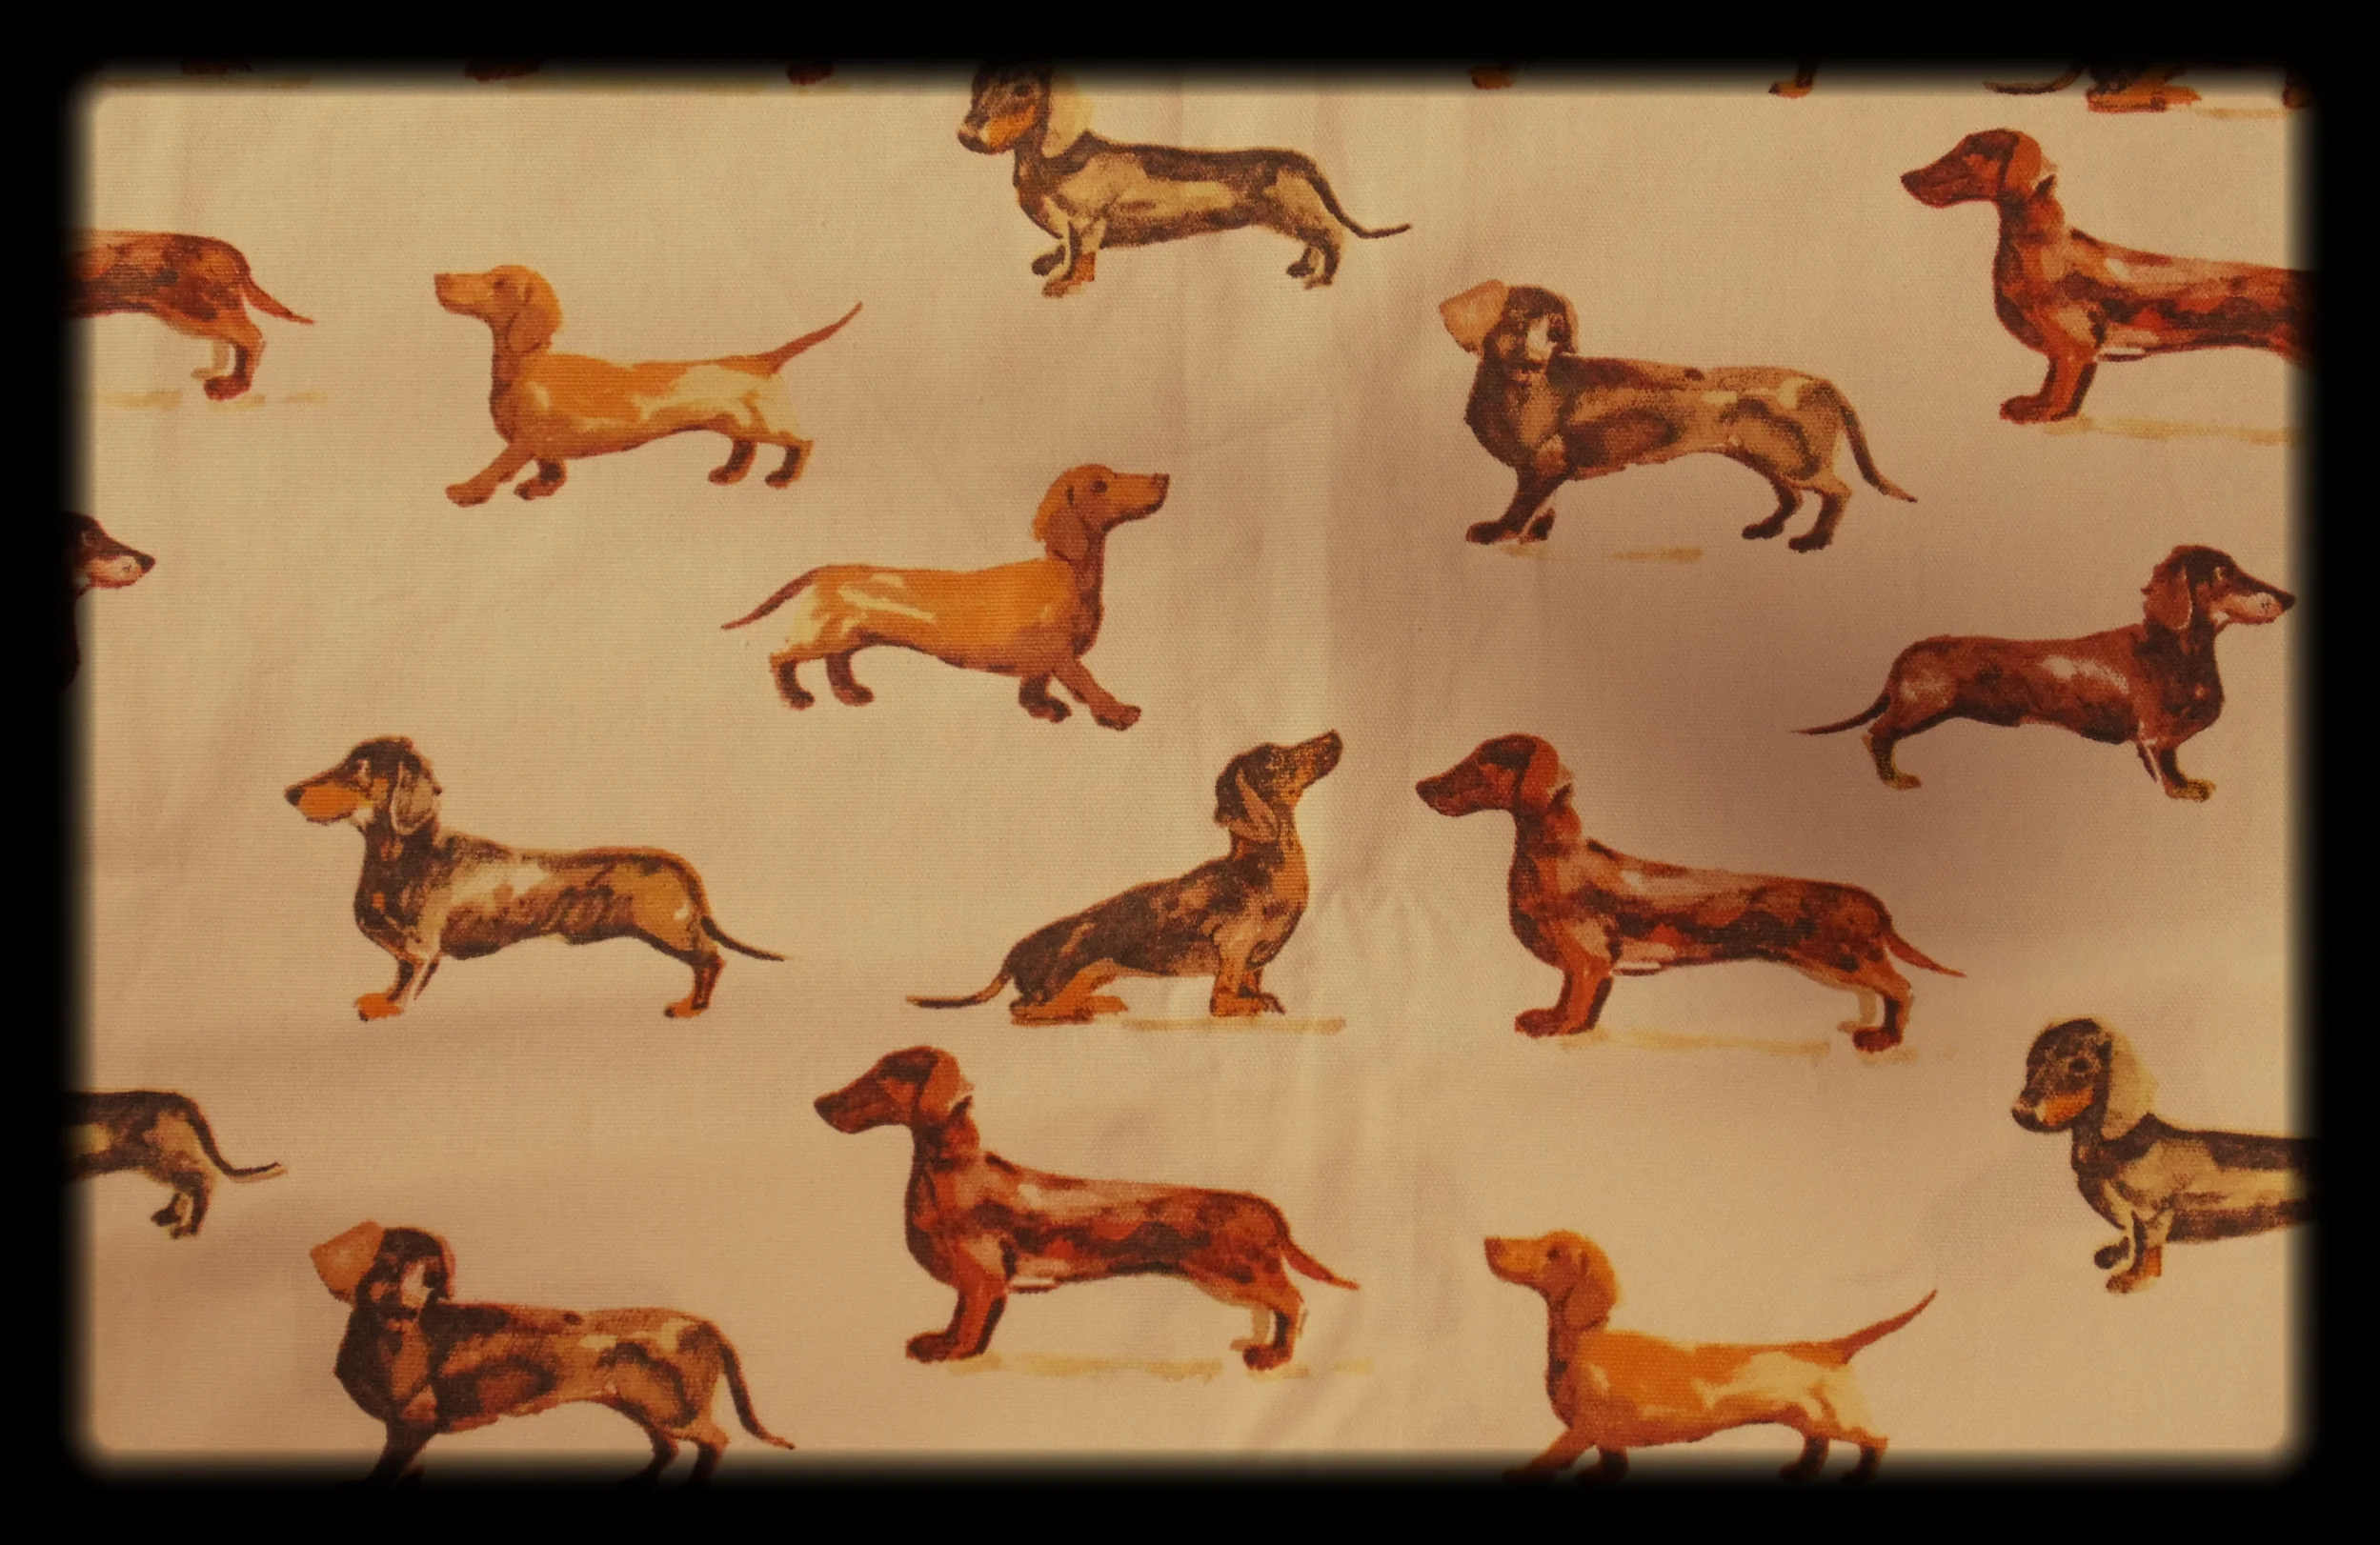
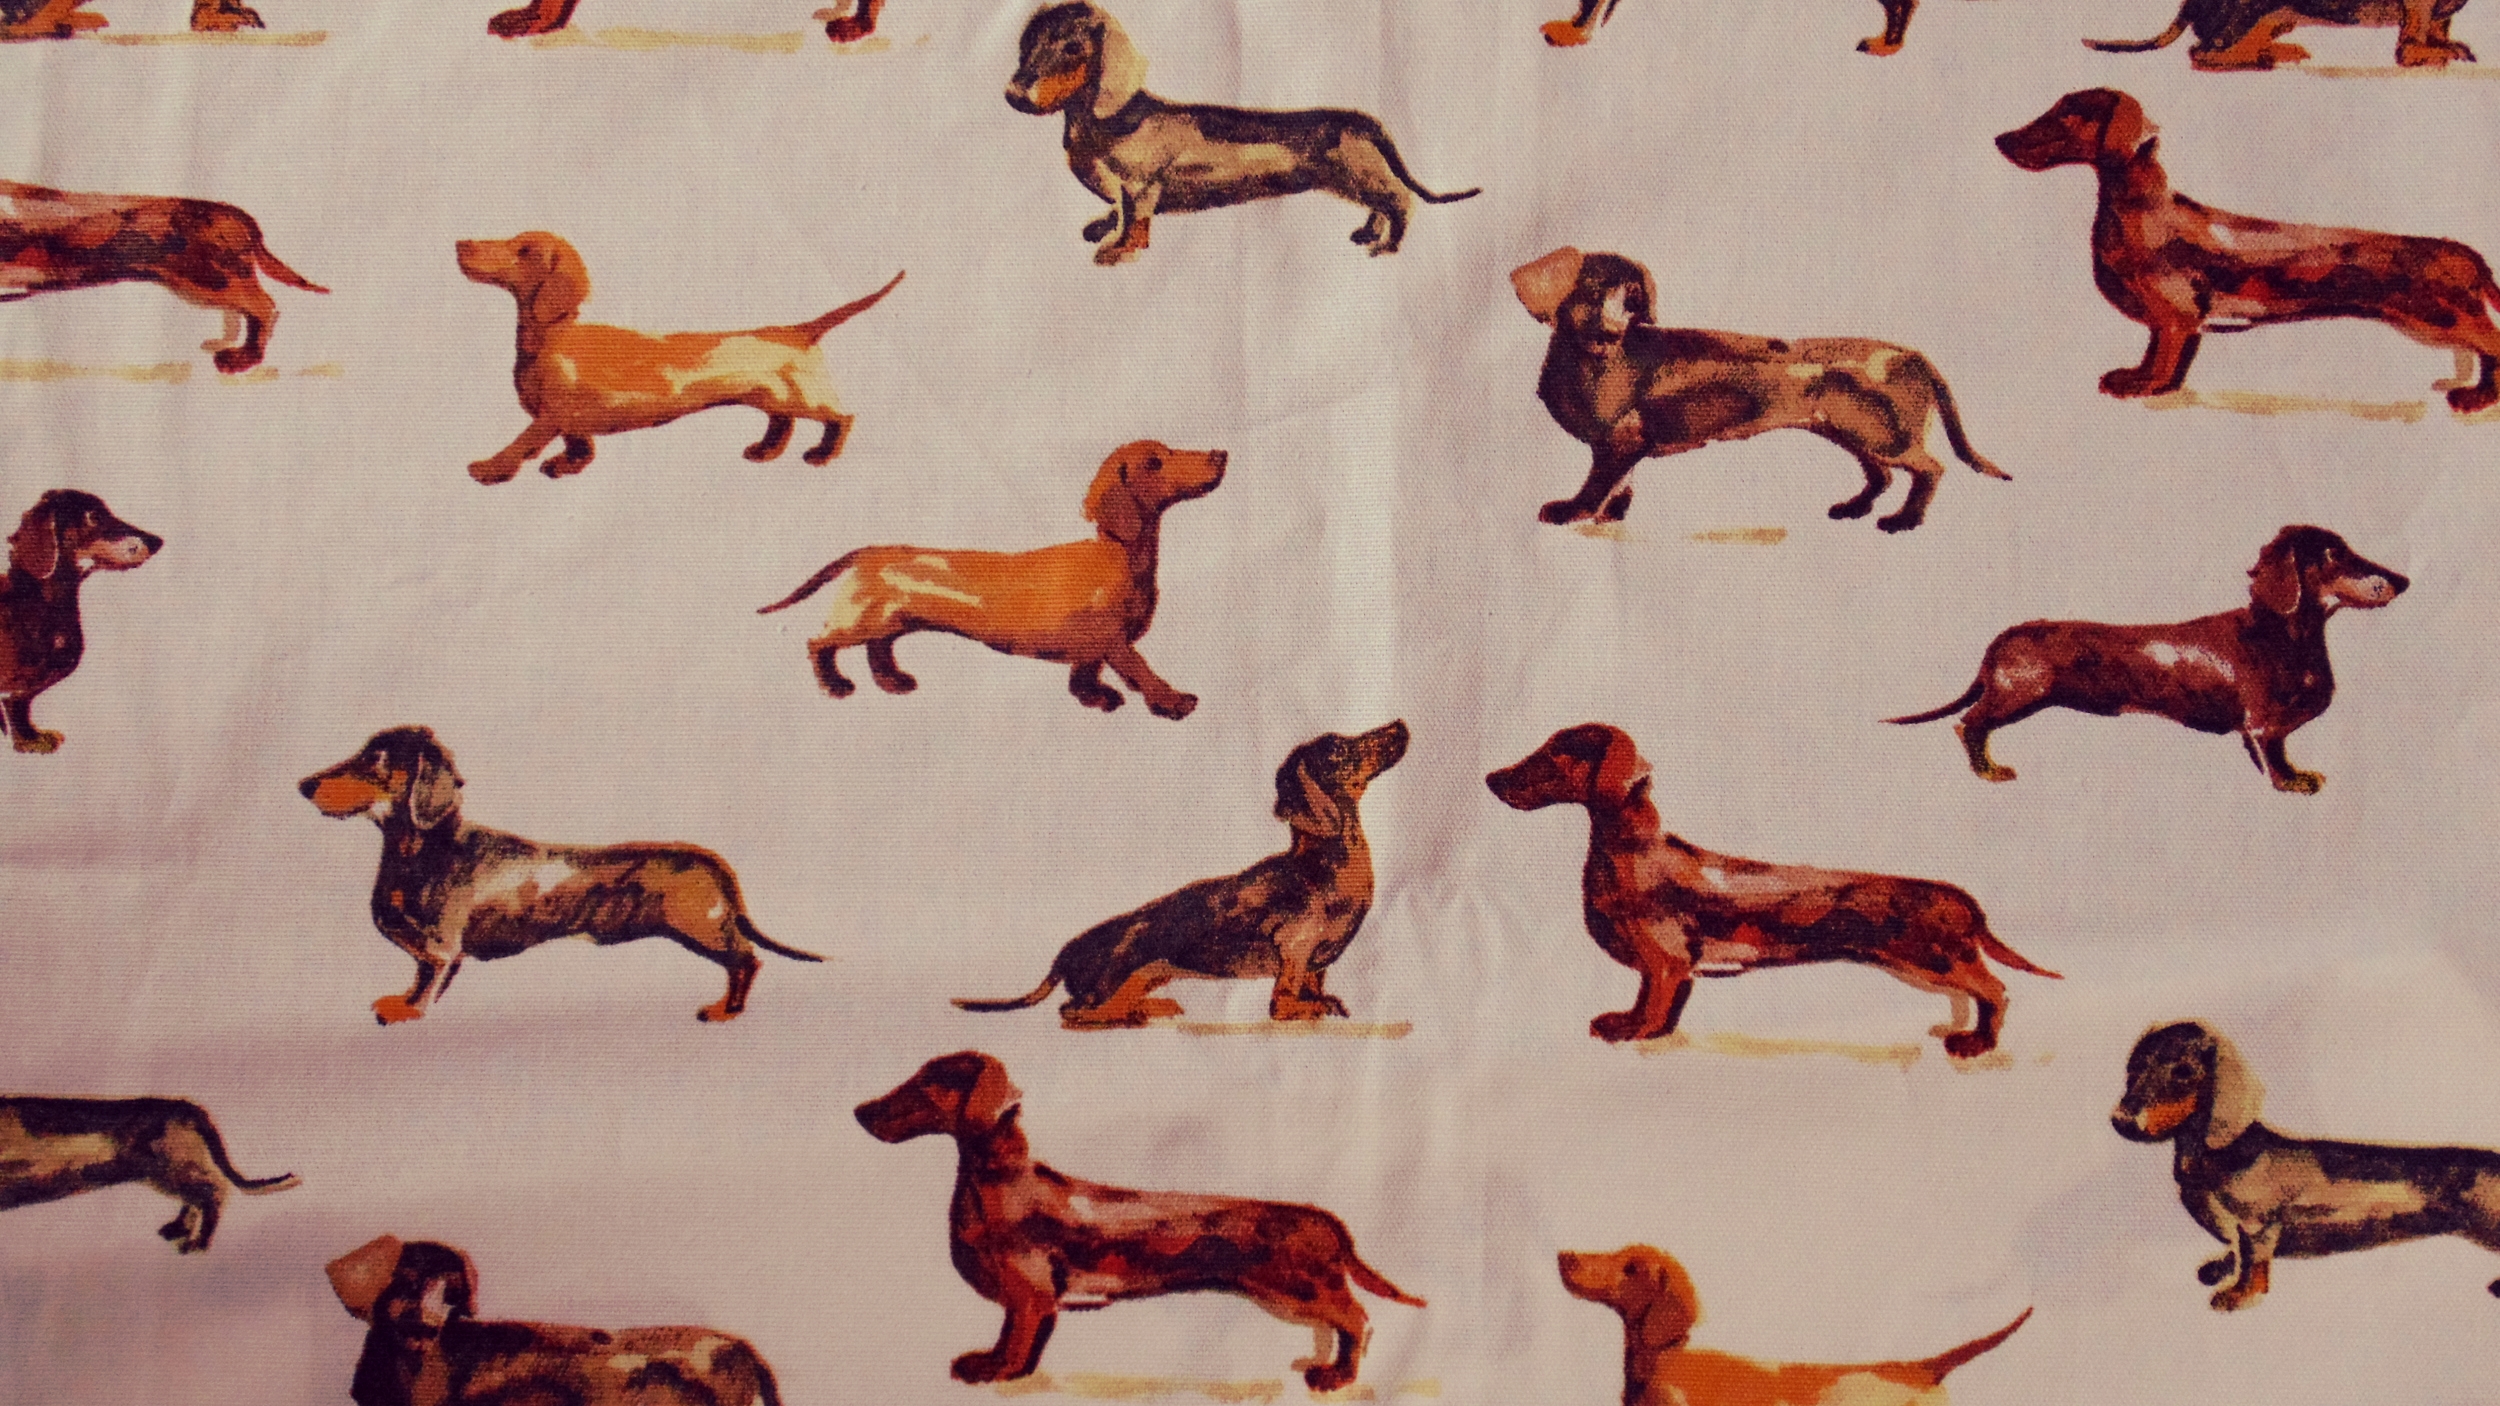
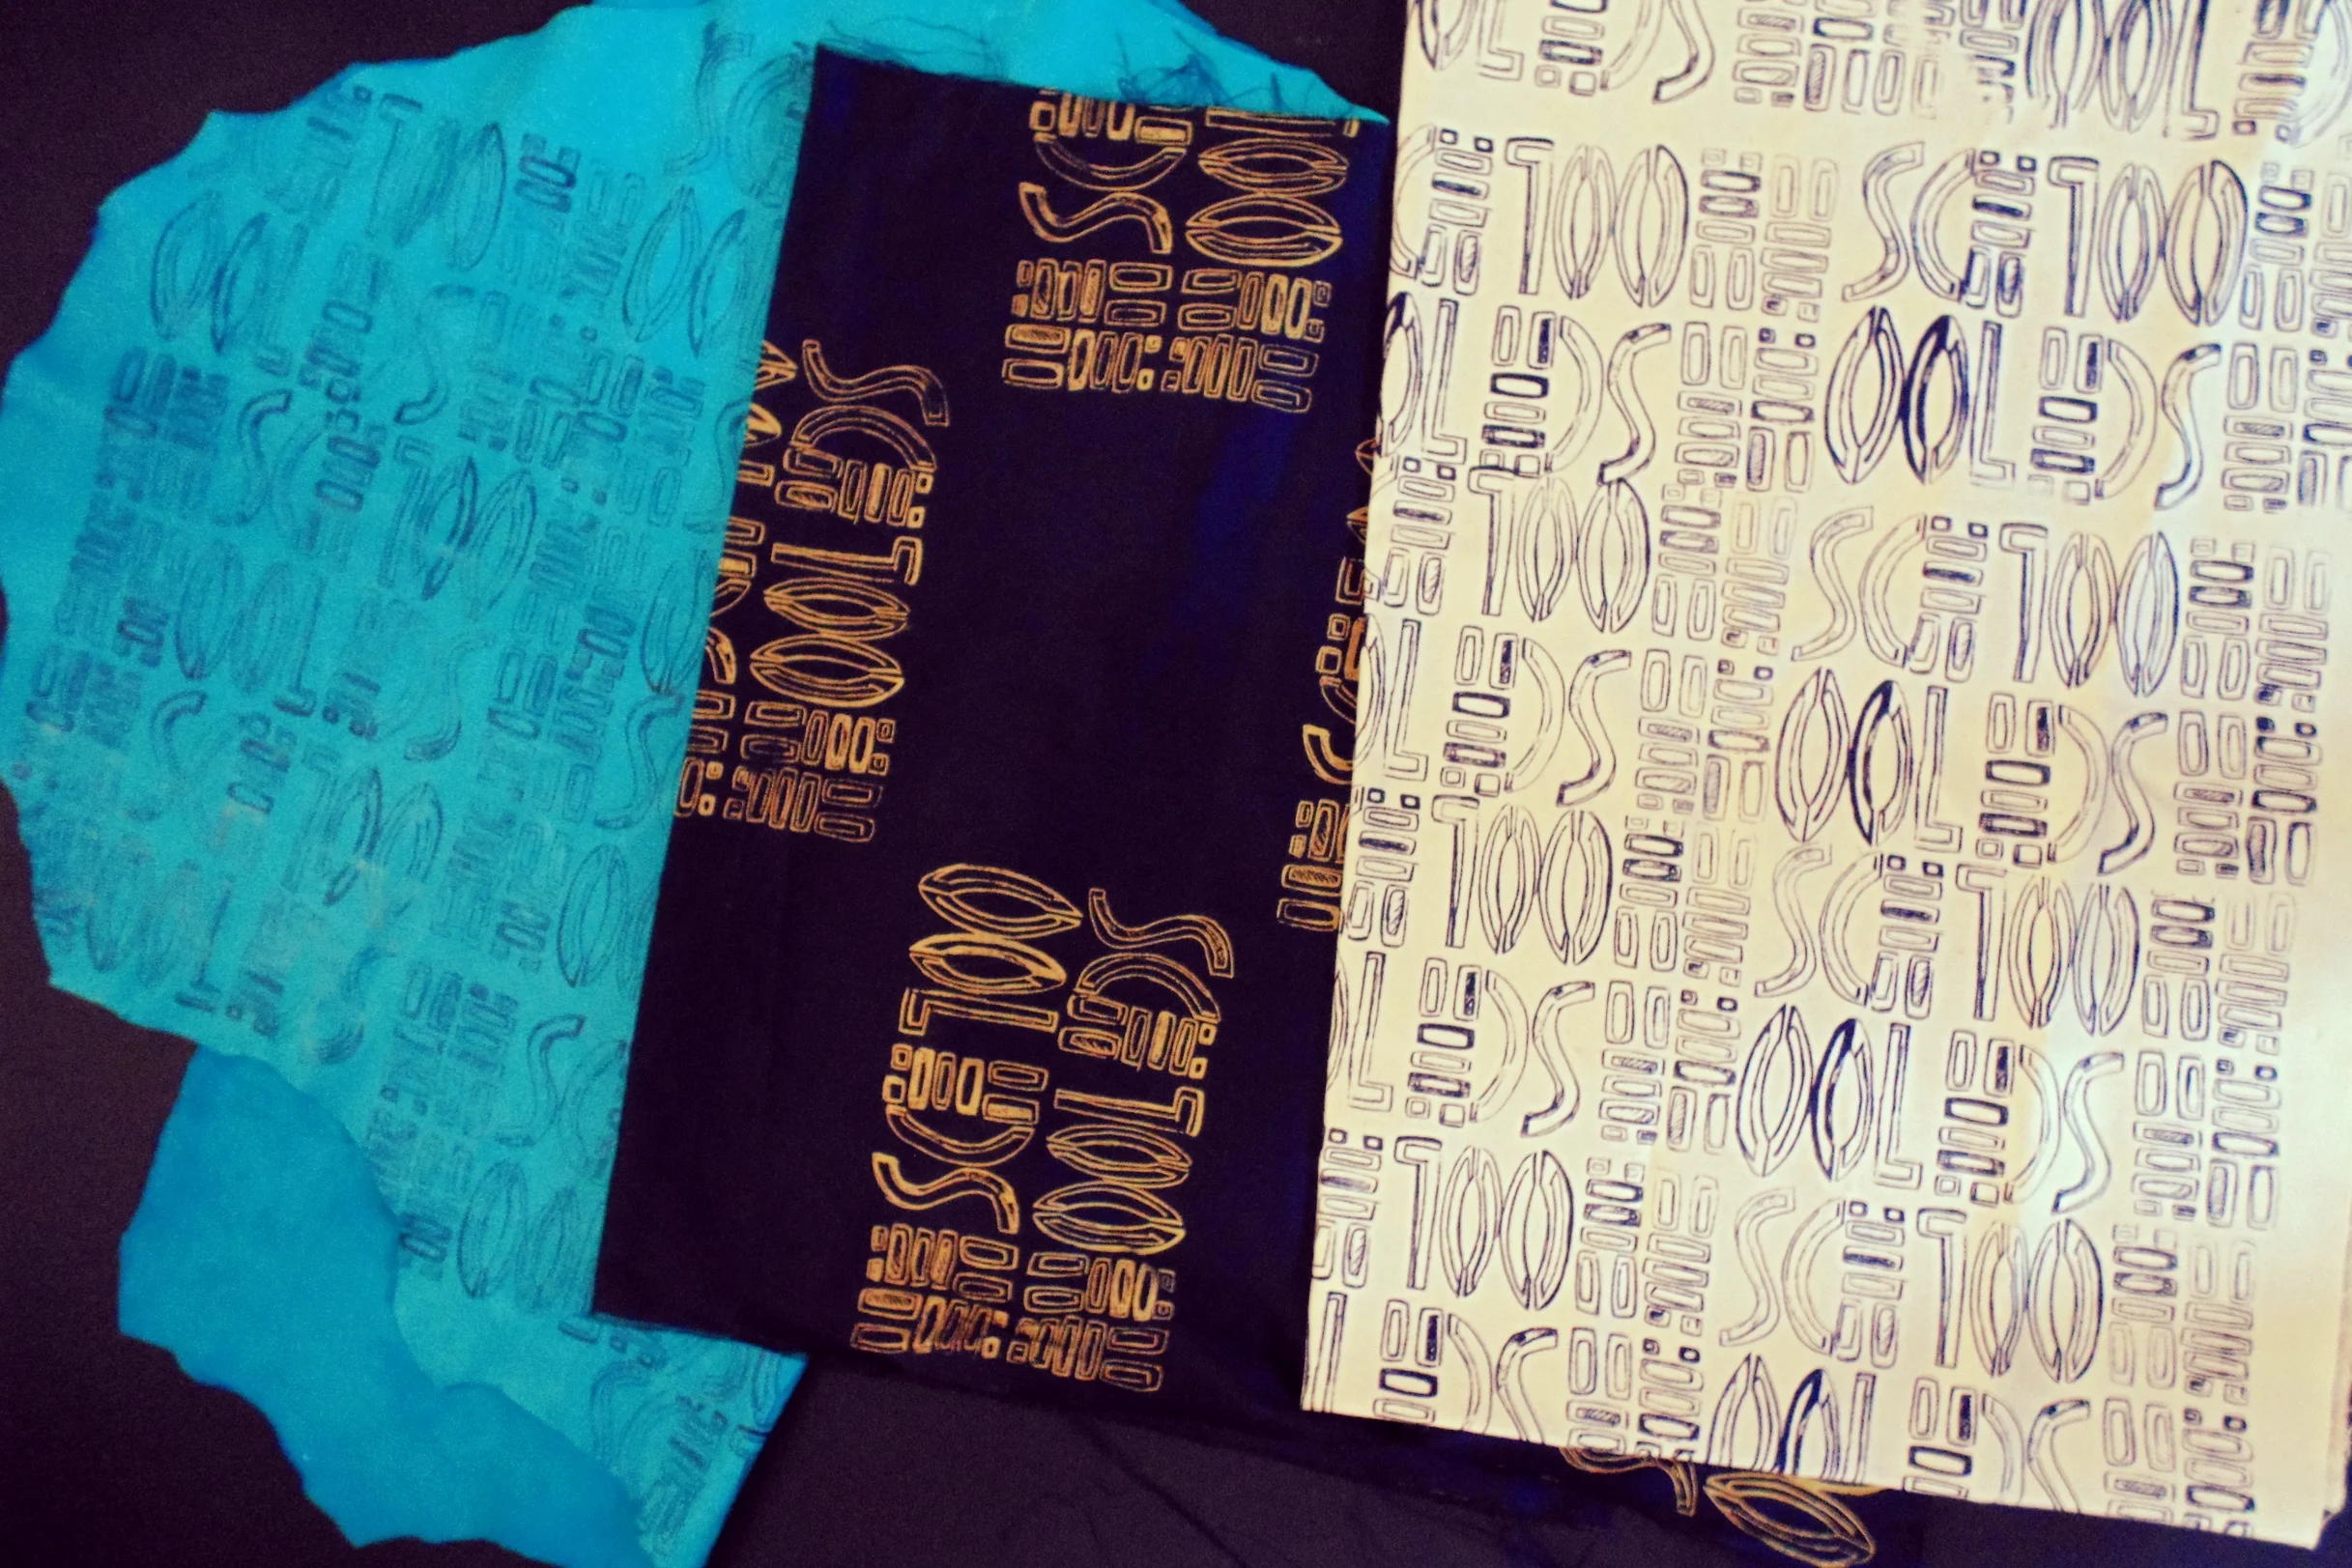
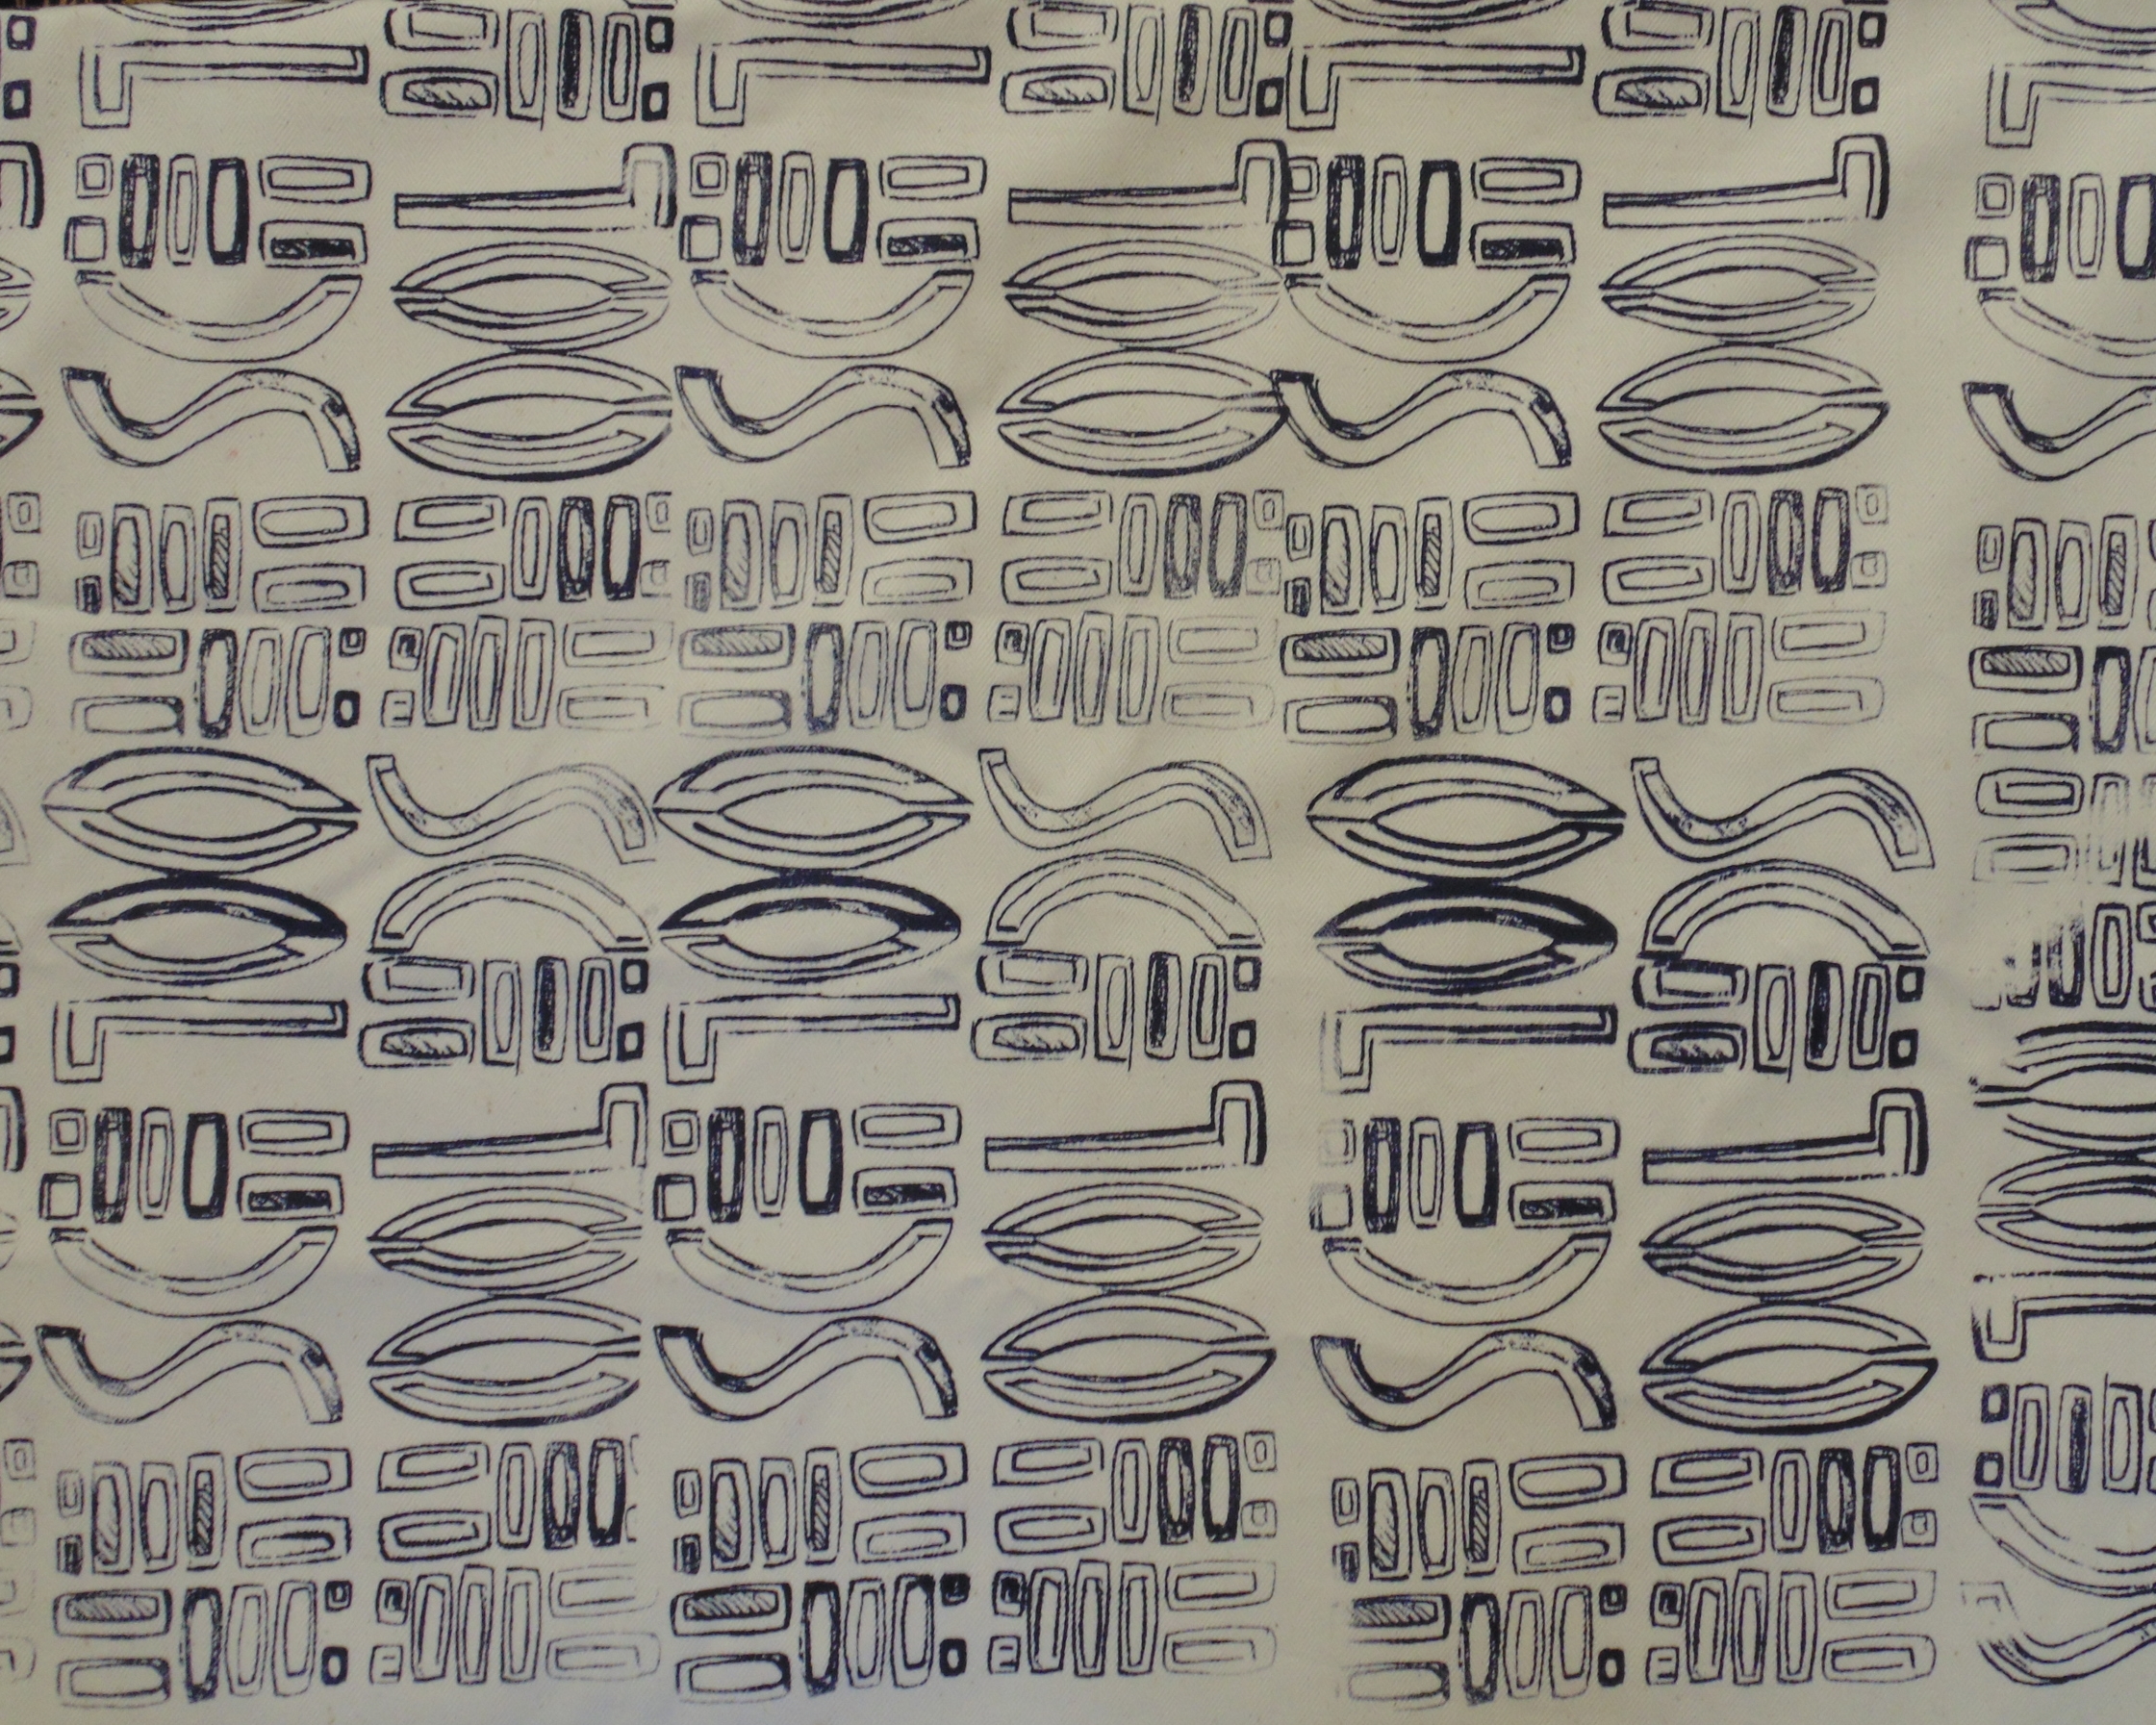
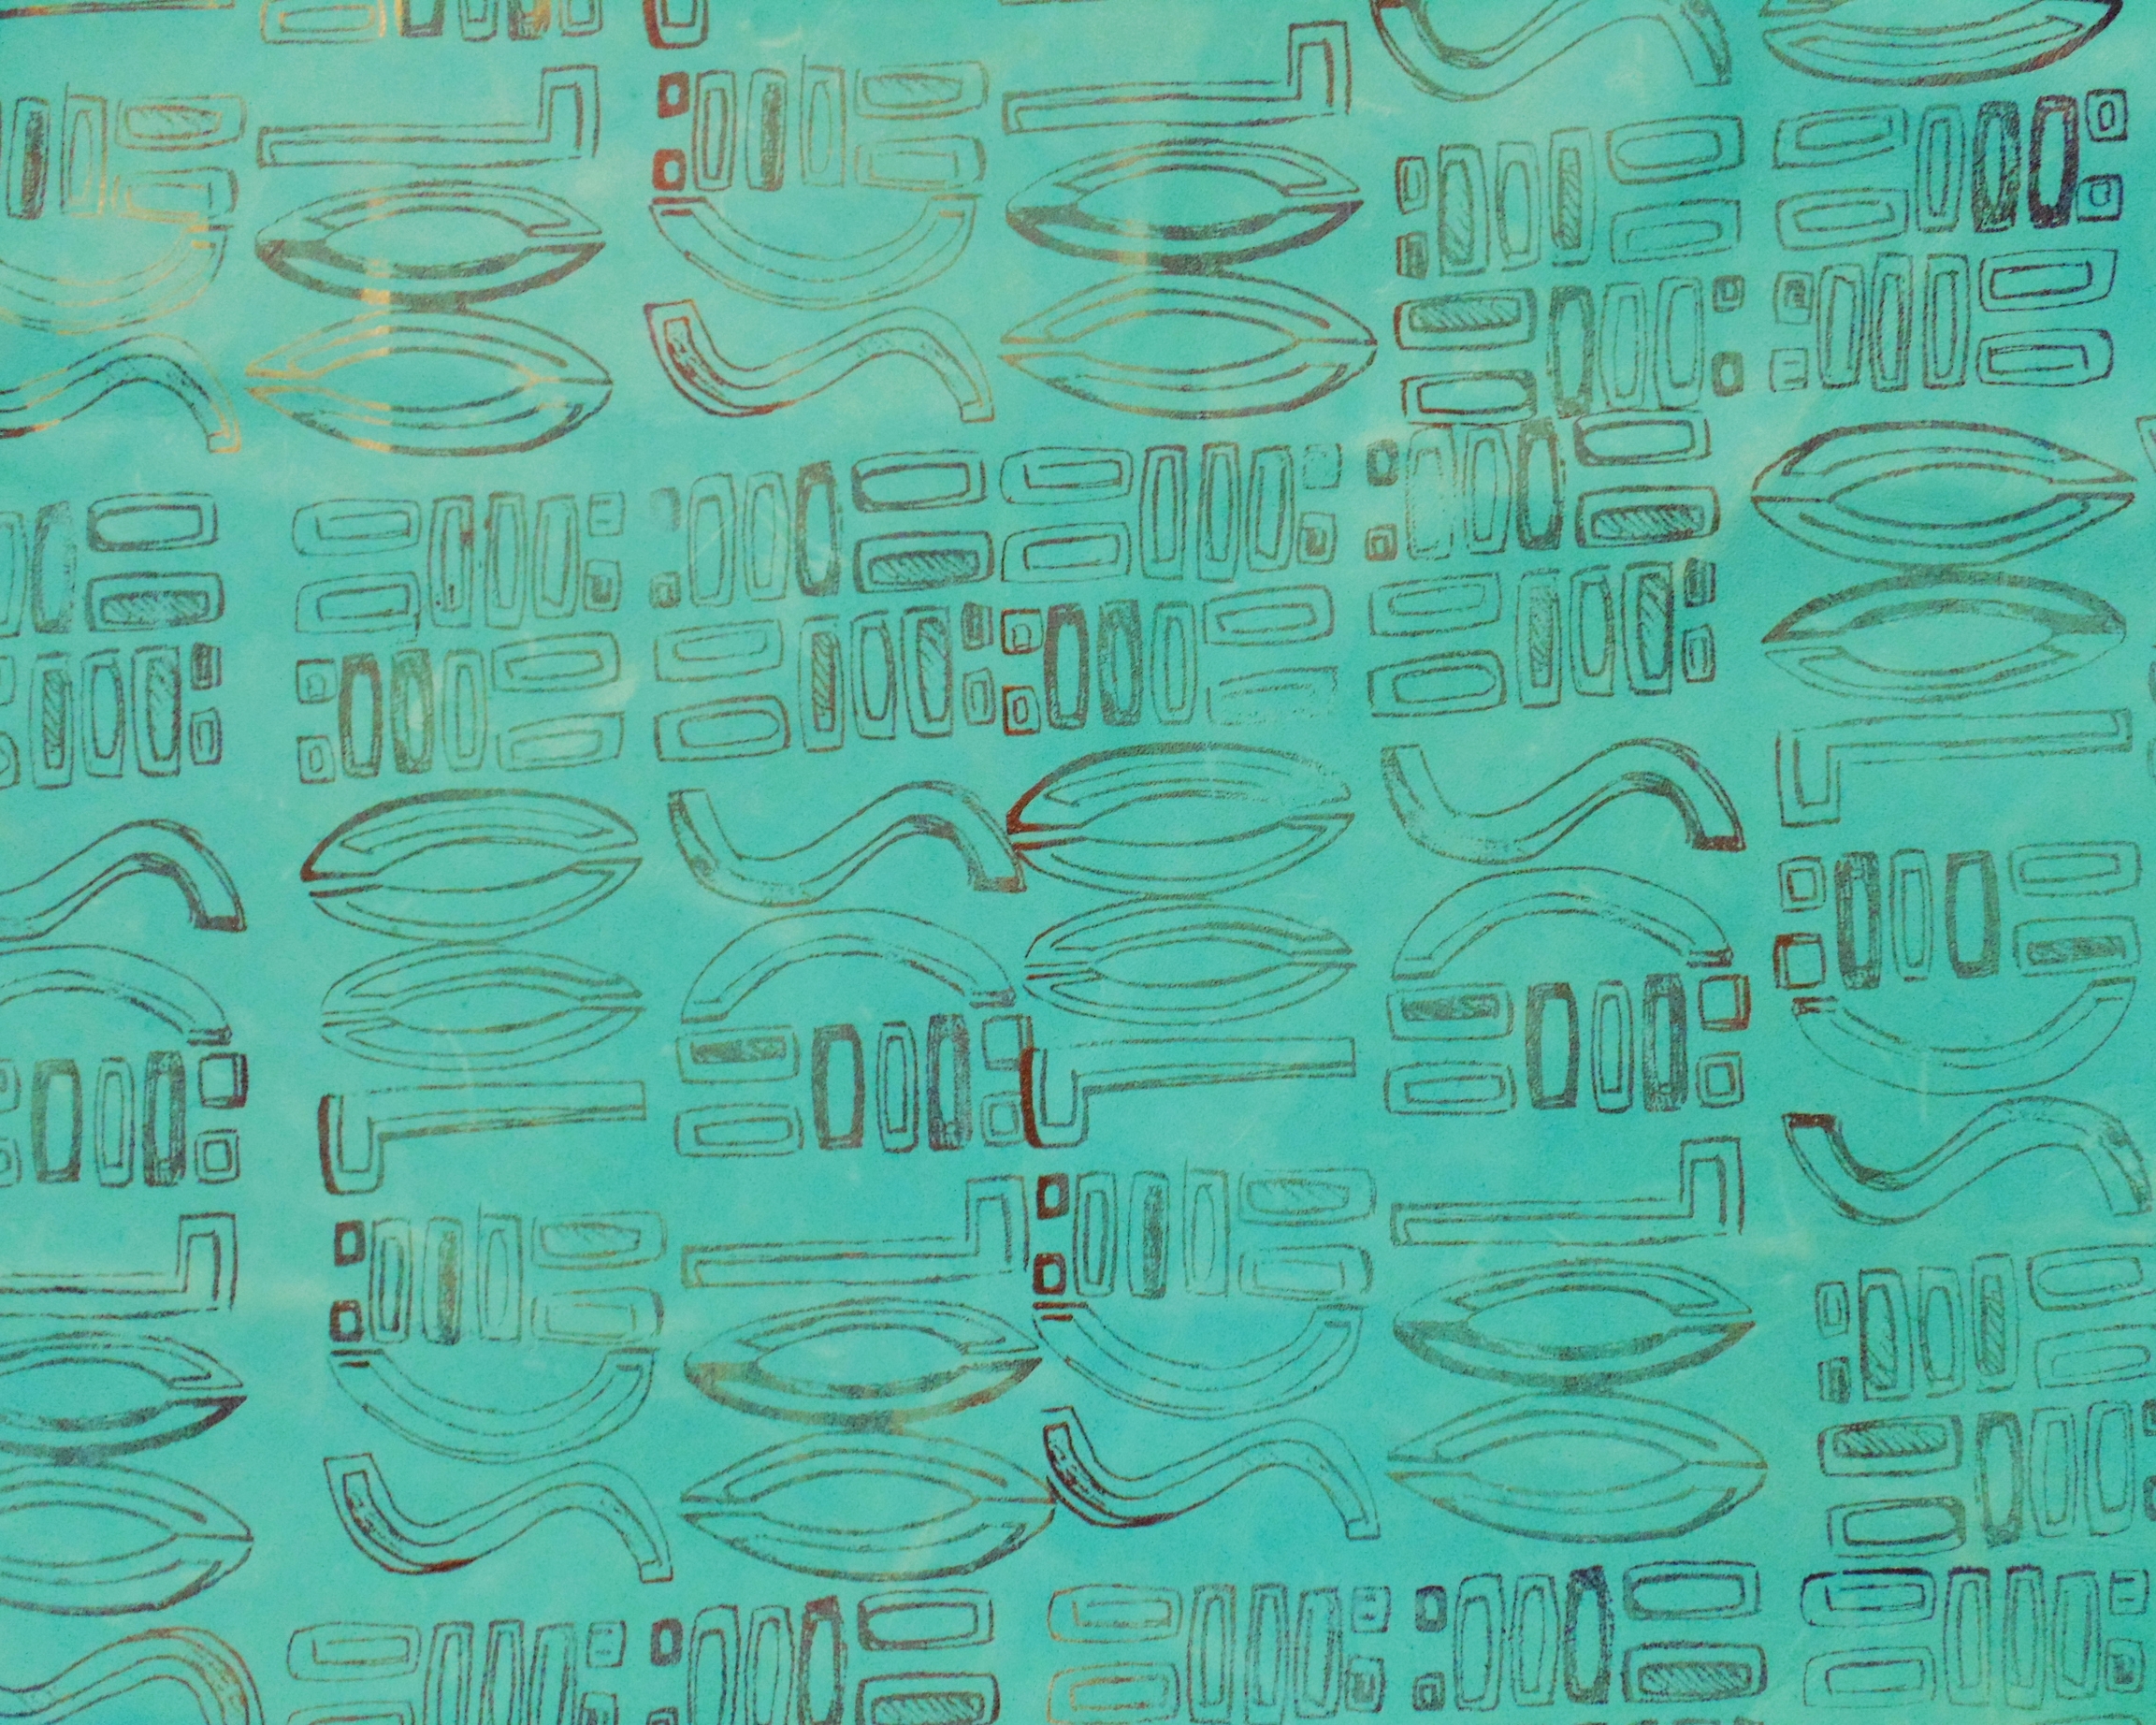
I chose to print on 3 different fabrics: (i) some cream cotton twill that I found in the Cloth House on Berwick Street, (ii) a hide of turquoise blue leather and (iii) finally some navy silk taffeta that I bought years ago in Southall in West London. For maximum contrast, I used navy blue screen printing inks for the light coloured cotton and blue leather, and gold ink for the dark silk.

THE FINISHED PRODUCT...

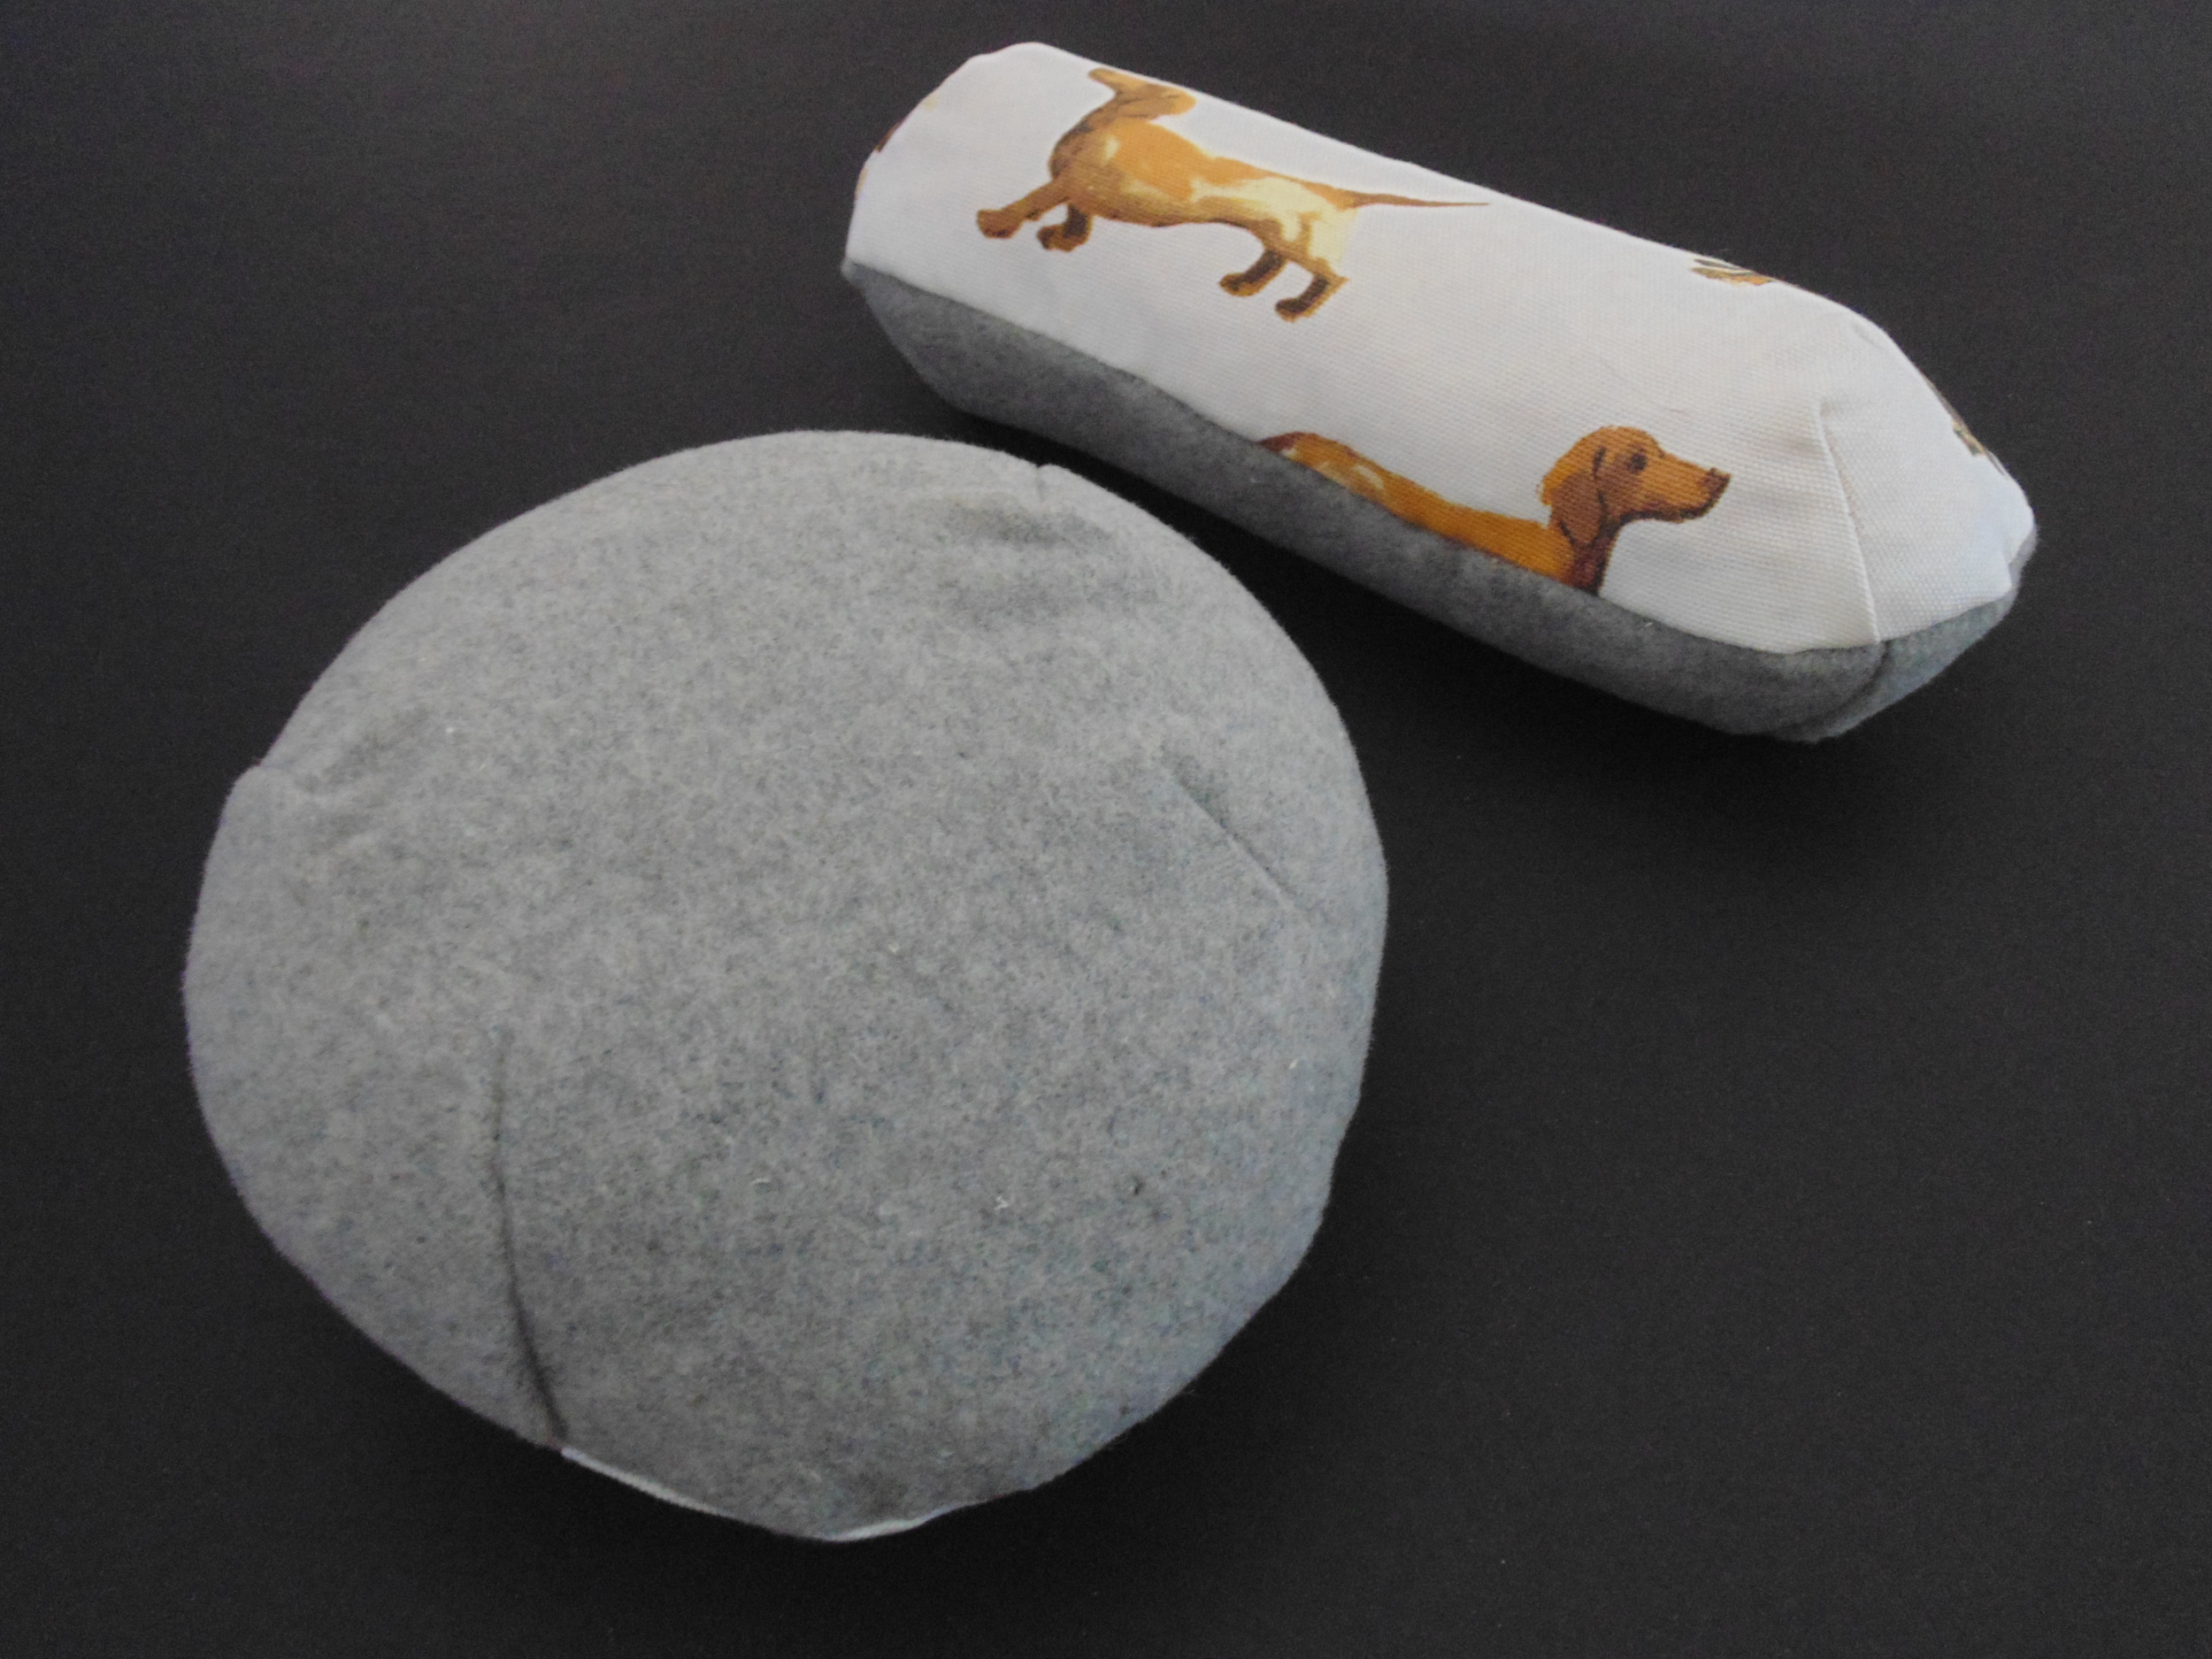
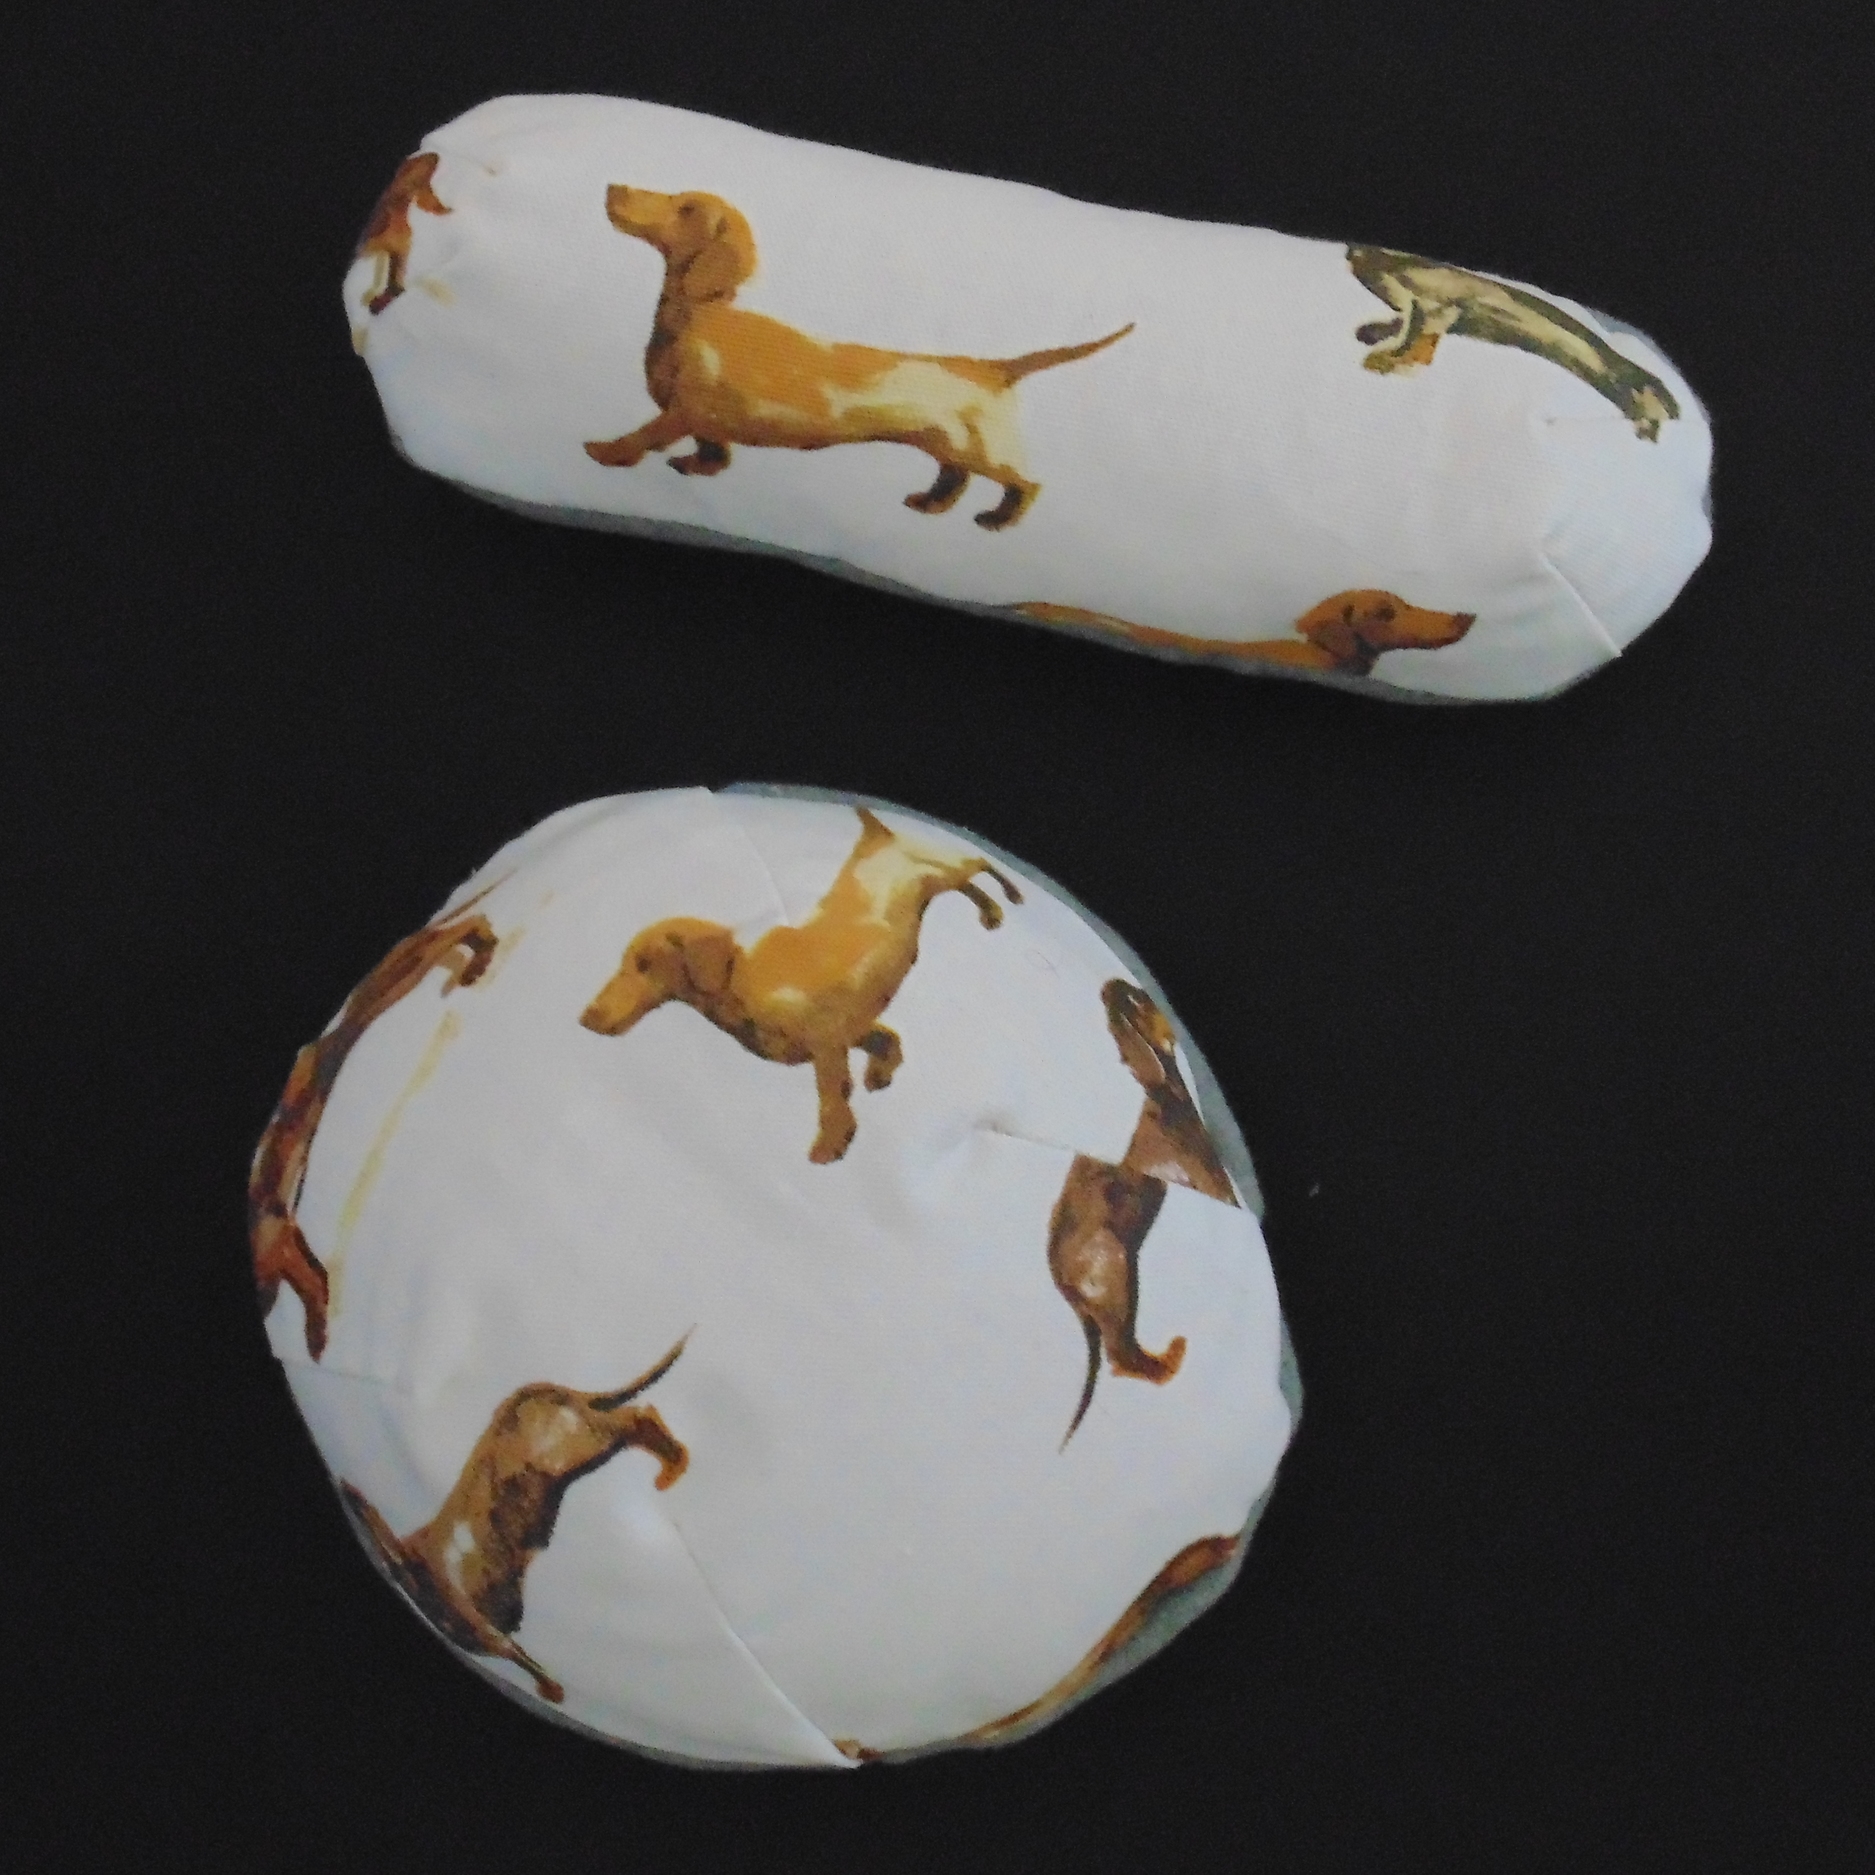
The results are really effective on all three surfaces, so now all I need to decide is what to use them for!

  • Turquoise Leather: although summer is a fair way off yet, the turquoise blue would be perfect for the summer, and the softness of the leather should work for an oversized clutch;
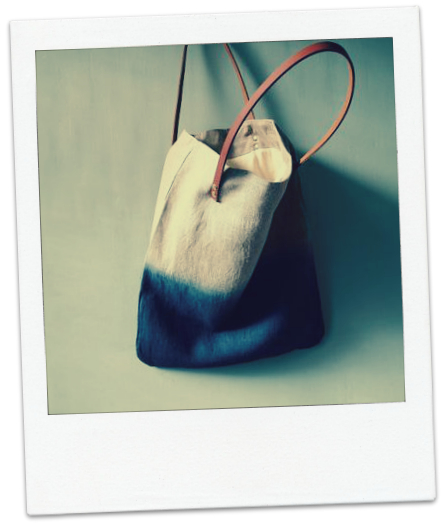
  • Cotton Twill: as plastic bags are fast becoming a thing of the past, I want to make a large cotton shopper with tan leather handles out of the printed cotton;
  • Navy Silk: finally, the beautiful silk will be perfect for some cushions on our sofa - I've already wrapped the fabric round an existing cushion to see how they might look.

A NOTE ON SCREEN-PRINTING:

  • The Screen: I ordered the screen online from Thermofax Screens - it was really simple to upload my PDF design and select my screen size. The screen arrived in the post within about a week - they also recommend using their own squeezees for the screens, as the mesh is pretty delicate; 
  • The Inks: I used Jacquard professional quality screen printing inks (available online from Rainbow Silks) in gold and navy blue, so there was no need to dilute or mix them with screen printing mediums. I also use other brands screen printing inks but these Jacquard inks are suitable for printing on leather;
  • Fixing: once the inks had a chance to dry overnight, I followed the instructions and ironed on the reverse of the cotton canvas and silk (being careful with the temperature of the iron for the silk). I wasn't able to iron on the back of the leather, so hopefully that will be ok.

1 Comment

A (Tailor's) Ham and Sausage...Dog!

Comment

A (Tailor's) Ham and Sausage...Dog!

To make garments with a professional finish, it's a sensible idea to get yourself a tailor's ham and/or sausage. So when my darts wouldn't sit right and curved hems were a nightmare to press with a regular ironing board, I decided it was time to make up some of my own. I'd already saved Victory Patterns free tailor's ham and sausage pattern to Pinterest, so all that was left was to choose my fabric. 

I found this gorgeous sausage-dog print cotton fabric months ago from Fabrics Galore on Lavender Hill in Battersea. At Christmas time I made a washbag for my mum and some cushions for a friend using the fabric but was struggling to find other uses for it.

So that you can easily press different types of fabric, the opposite side of the ham and sausgae should be made out of a wool, so I used some leftover scraps of grey wool from my Victoria coat.

I haven't used them yet but hopefully they will come in handy at some point soon!

Comment

A beautiful handmade bridesmaids dress for a beautiful handmade wedding

2 Comments

A beautiful handmade bridesmaids dress for a beautiful handmade wedding

Last weekend I was lucky enough to be a bridesmaid at the wedding of one my oldest and dearest family friends down in Somerset. The bridesmaids were able to choose their own dresses, so naturally I wanted to make a special dress to mark the occasion. 

My mum trained in fashion and textiles at Farnham art school and still has many of her printed silks that she designed and printed by hand for her degree collection more than 30 years ago!

For this fabric, my mum had airbrushed most of the surface area in soft pastel shades of pinks, blues and greens and then screen printed an intricate pattern based on feathers in coral, gold, yellow and teal. Every part of the design was printed by hand using either an airbrush gun or silk screen stencils. 

One-of-a-kind vintage silk twill!

One-of-a-kind vintage silk twill!

Constructing the perfect bridesmaids dress!

I used ByHand London's Anna Dress sewing pattern and opted for their maxi dress version with a few alterations:

  • Extra Fabric: I didn't have quite enough fabric for the entire dress, so I picked up some pale grey silk crepe de chine from Broadwick Silks (just off Berwick Street in London) and used it to make up the 2 side-back skirt panels;
  • Shorter Skirt Length: I reduced the length of the skirt by 14.5 cm (partly because of my short legs and partly because all the bridesmaids were going barefoot during the ceremony!);
  • Skirt Width: my first attempt at an Anna dress ended up a bit voluminous around the bottom of the skirt, so I reduced the bottom width of some skirt panels by 8 cm  (4 cm each side), tapering it in at the top to ensure the width of the waist remained exactly the same;
  • Small Back Adjustment: as with my original test run of the Anna dress, I needed to reduce the back by about an inch around the top of the zip;
  • French Seams: finally, as the fabric was so old and delicate, I used French seams wherever possible for durability.

The wedding took placeat Little Quarm Cottages in Wheddon Cross in the heart of Exmoor National Park in Somerset.

As well as making my dress, I helped decorate the venue with 25 metres of home made bunting in lace and hessian with matching table runners, and helped feed the guests with home made Rocky Road!

2 Comments

A sleeveless summer jacket for mum - a 'pattern hack' of the (ByHand London) Victoria Blazer

Comment

A sleeveless summer jacket for mum - a 'pattern hack' of the (ByHand London) Victoria Blazer

Sleeveless jackets are everywhere at the moment, so I thought I'd try and knock one up myself :)

Unfortunately, the finished jacket suited mum far better than me so I'll just have to settle for a shop-bought one...but at least mum is super pleased with the new addition to her wardrobe!


Creating (my) perfect summer jacket

ByHand London Victoria jacket
image.jpg

The Victoria Blazer from ByHand London is such an easy pattern to follow  and comes with a sleeveless version, so it was the perfect choice for this project.

I chose a neutral fabric for the shell - a cream cotton with flecks of neon thread (another find at the Cloth House sale!) - it was very loosely woven which meant it was a nightmare to sew (something of a recurring theme with my sewing...). Once I knew that the jacket was for mum, I chose the lining fabric in her trademark "bright pink". 

As for the shape, you can't beat the clean lines of a trench coat so I changed the collar and lapels of the original pattern. After a bit of 'trial-and-error' playing around with different widths and angles, I ended up with an exaggerated collar and lapels that sat at complimentary angles.


The all important details:

  • Follow ByHand London's instructions for the sleeveless Victoria Blazer (variation 3), cutting out all pattern pieces but leaving the collar (piece C) and lapels (piece D) aside. 
  • I compared the collar on a Victoria Blazer that I'd made previously with my trusty Hobbs trench coat and made the following changes to the collar and lapels:
    • Extra width: to achieve the dramatic effect of a trench coat, the original collar and lapels pattern pieces needed widening by about 10 cm;
    • Collar (piece C): the original pattern piece is a perfect rectangle, so I tapered out the ends every so slightly; and to make sure the tapering was even on both sides, I re-drafted the pattern piece so it had to be cut on the fold;
    • Lapels (piece D): to create the perfect angles for the new lapels I traced a deep arrow shape out of the lapel pattern piece (thereby creates a beautiful desired point when the pattern piece is folded in half). Although not necessary, I drafted 3 depth options for the V.
  • I also used interfacing for the collar and lapels for extra body so that those sharp points stayed nice and crisp!

The finished jacket definitely isn't perfect, as I think this pattern lends itself to fabric with more drape, but mum seems pretty happy with it!

image.jpg
image.jpg
image.jpg

Comment

(Named) Laurie Striped Tee, with my own printed fabric!

Comment

(Named) Laurie Striped Tee, with my own printed fabric!

I couldn't wait to start on another Named Laurie Striped Tee after my successful test run! But this time I wanted to use some fabric that I had printed myself!

One of the main reasons for getting into sewing clothes was to make something out of fabric that I had designed and printed myself. A few years back I went on a fantastic textile printing course at the Central Saint Martins in London, where I learnt loads of different printing techniques. 

I designed this fabric from some photos of exotic fish, which I screen printed on to some lightweight grey jersey. Lucky for me there was just enough material to make my Laurie tee!

I screen printed the pattern a bit haphazardly on the fabric, so the pleats really helped to bring out a more effective pattern! Another successful sew :) but it's a shame I don't have any more fabric left to make something else...

Comment

(Named) Laurie Striped Tee in metallic silver

1 Comment

(Named) Laurie Striped Tee in metallic silver

Berwick Street in London is home to some of the most exquisite fabric shops, including the Cloth House. They recently had a clearance sale as they are moving premises so I picked up some real bargains, including this gorgeous metallic silver (denim?) fabric. It had a slight stretch so was perfect for trying out Named's Laurie Striped Tee.


This fabric is a dream to sew with, and the Laurie pattern was so simple to follow - I was able to knock this up in a few hours. So a big tick for both the fabric and the pattern. My best sew yet I think :) 

I have so much more of this fabric, perhaps I'll make a jacket and a skirt...! I've already started on my next Laurie tee!

1 Comment