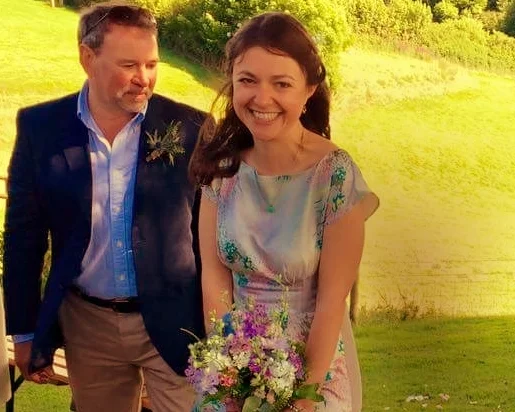
Last weekend I was lucky enough to be a bridesmaid at the wedding of one my oldest and dearest family friends down in Somerset. The bridesmaids were able to choose their own dresses, so naturally I wanted to make a special dress to mark the occasion.
My mum trained in fashion and textiles at Farnham art school and still has many of her printed silks that she designed and printed by hand for her degree collection more than 30 years ago!
For this fabric, my mum had airbrushed most of the surface area in soft pastel shades of pinks, blues and greens and then screen printed an intricate pattern based on feathers in coral, gold, yellow and teal. Every part of the design was printed by hand using either an airbrush gun or silk screen stencils.
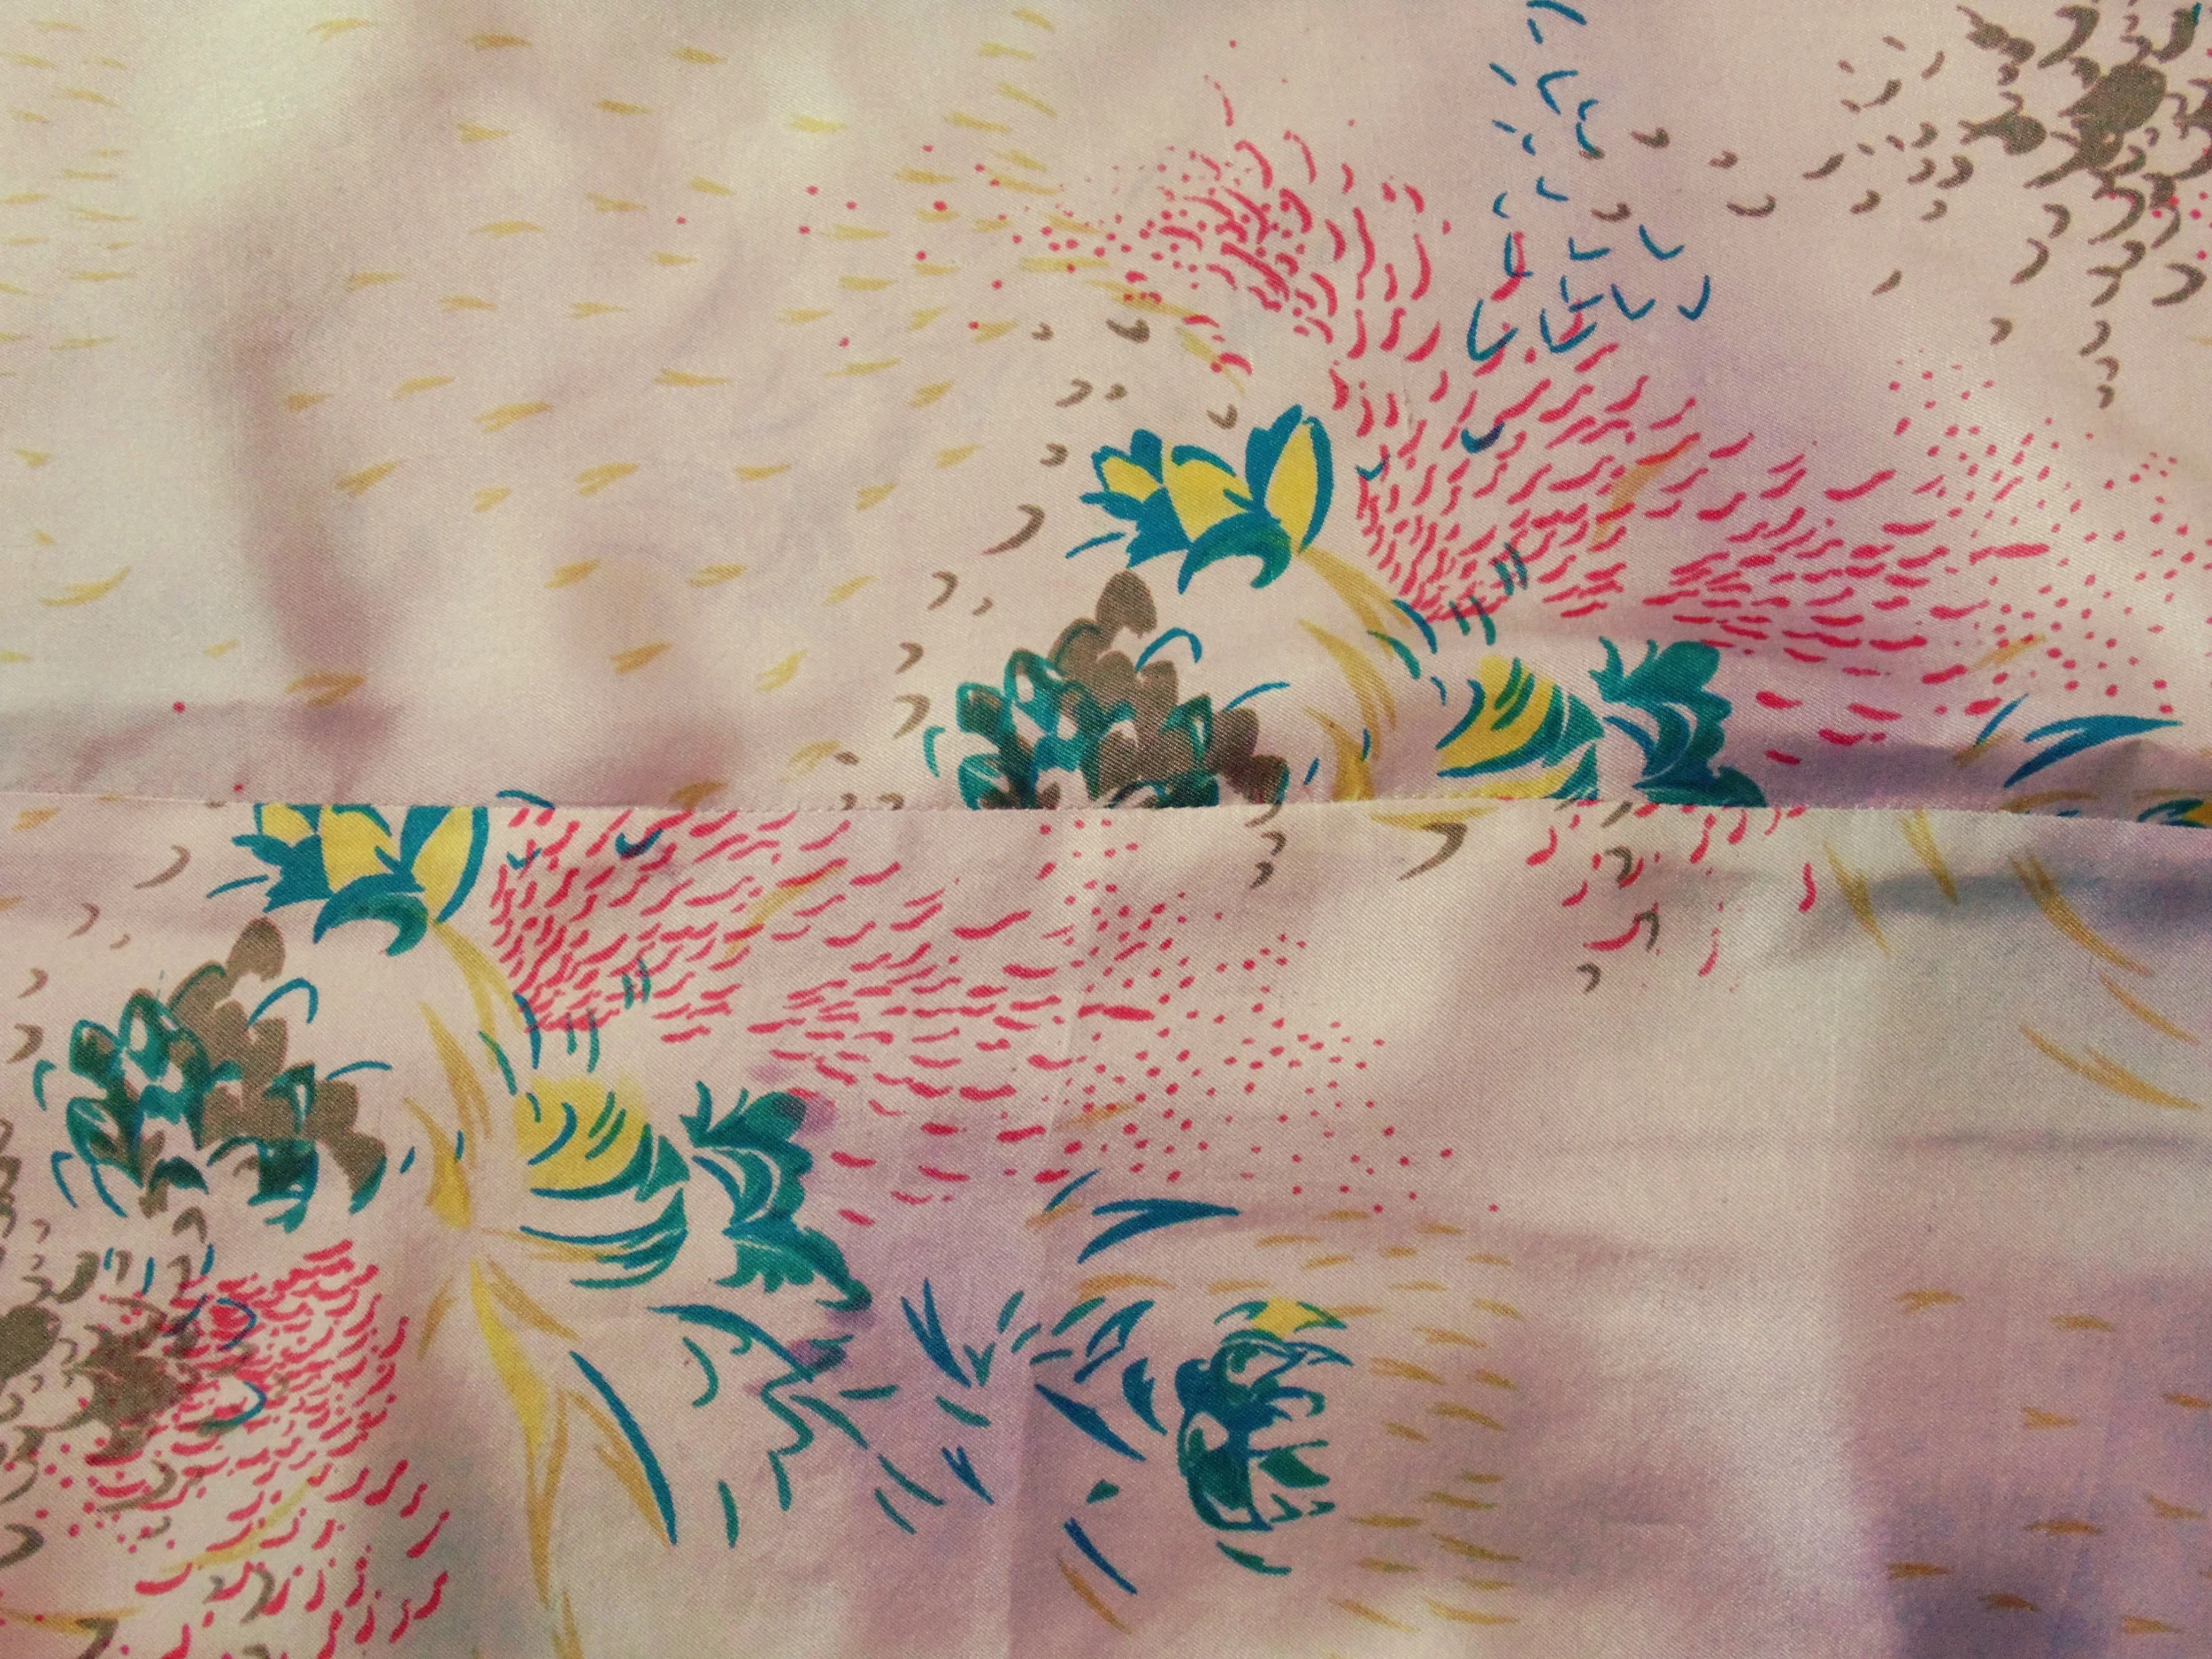
One-of-a-kind vintage silk twill!
Constructing the perfect bridesmaids dress!
I used ByHand London's Anna Dress sewing pattern and opted for their maxi dress version with a few alterations:
- Extra Fabric: I didn't have quite enough fabric for the entire dress, so I picked up some pale grey silk crepe de chine from Broadwick Silks (just off Berwick Street in London) and used it to make up the 2 side-back skirt panels;
- Shorter Skirt Length: I reduced the length of the skirt by 14.5 cm (partly because of my short legs and partly because all the bridesmaids were going barefoot during the ceremony!);
- Skirt Width: my first attempt at an Anna dress ended up a bit voluminous around the bottom of the skirt, so I reduced the bottom width of some skirt panels by 8 cm (4 cm each side), tapering it in at the top to ensure the width of the waist remained exactly the same;
- Small Back Adjustment: as with my original test run of the Anna dress, I needed to reduce the back by about an inch around the top of the zip;
- French Seams: finally, as the fabric was so old and delicate, I used French seams wherever possible for durability.
The wedding took placeat Little Quarm Cottages in Wheddon Cross in the heart of Exmoor National Park in Somerset.
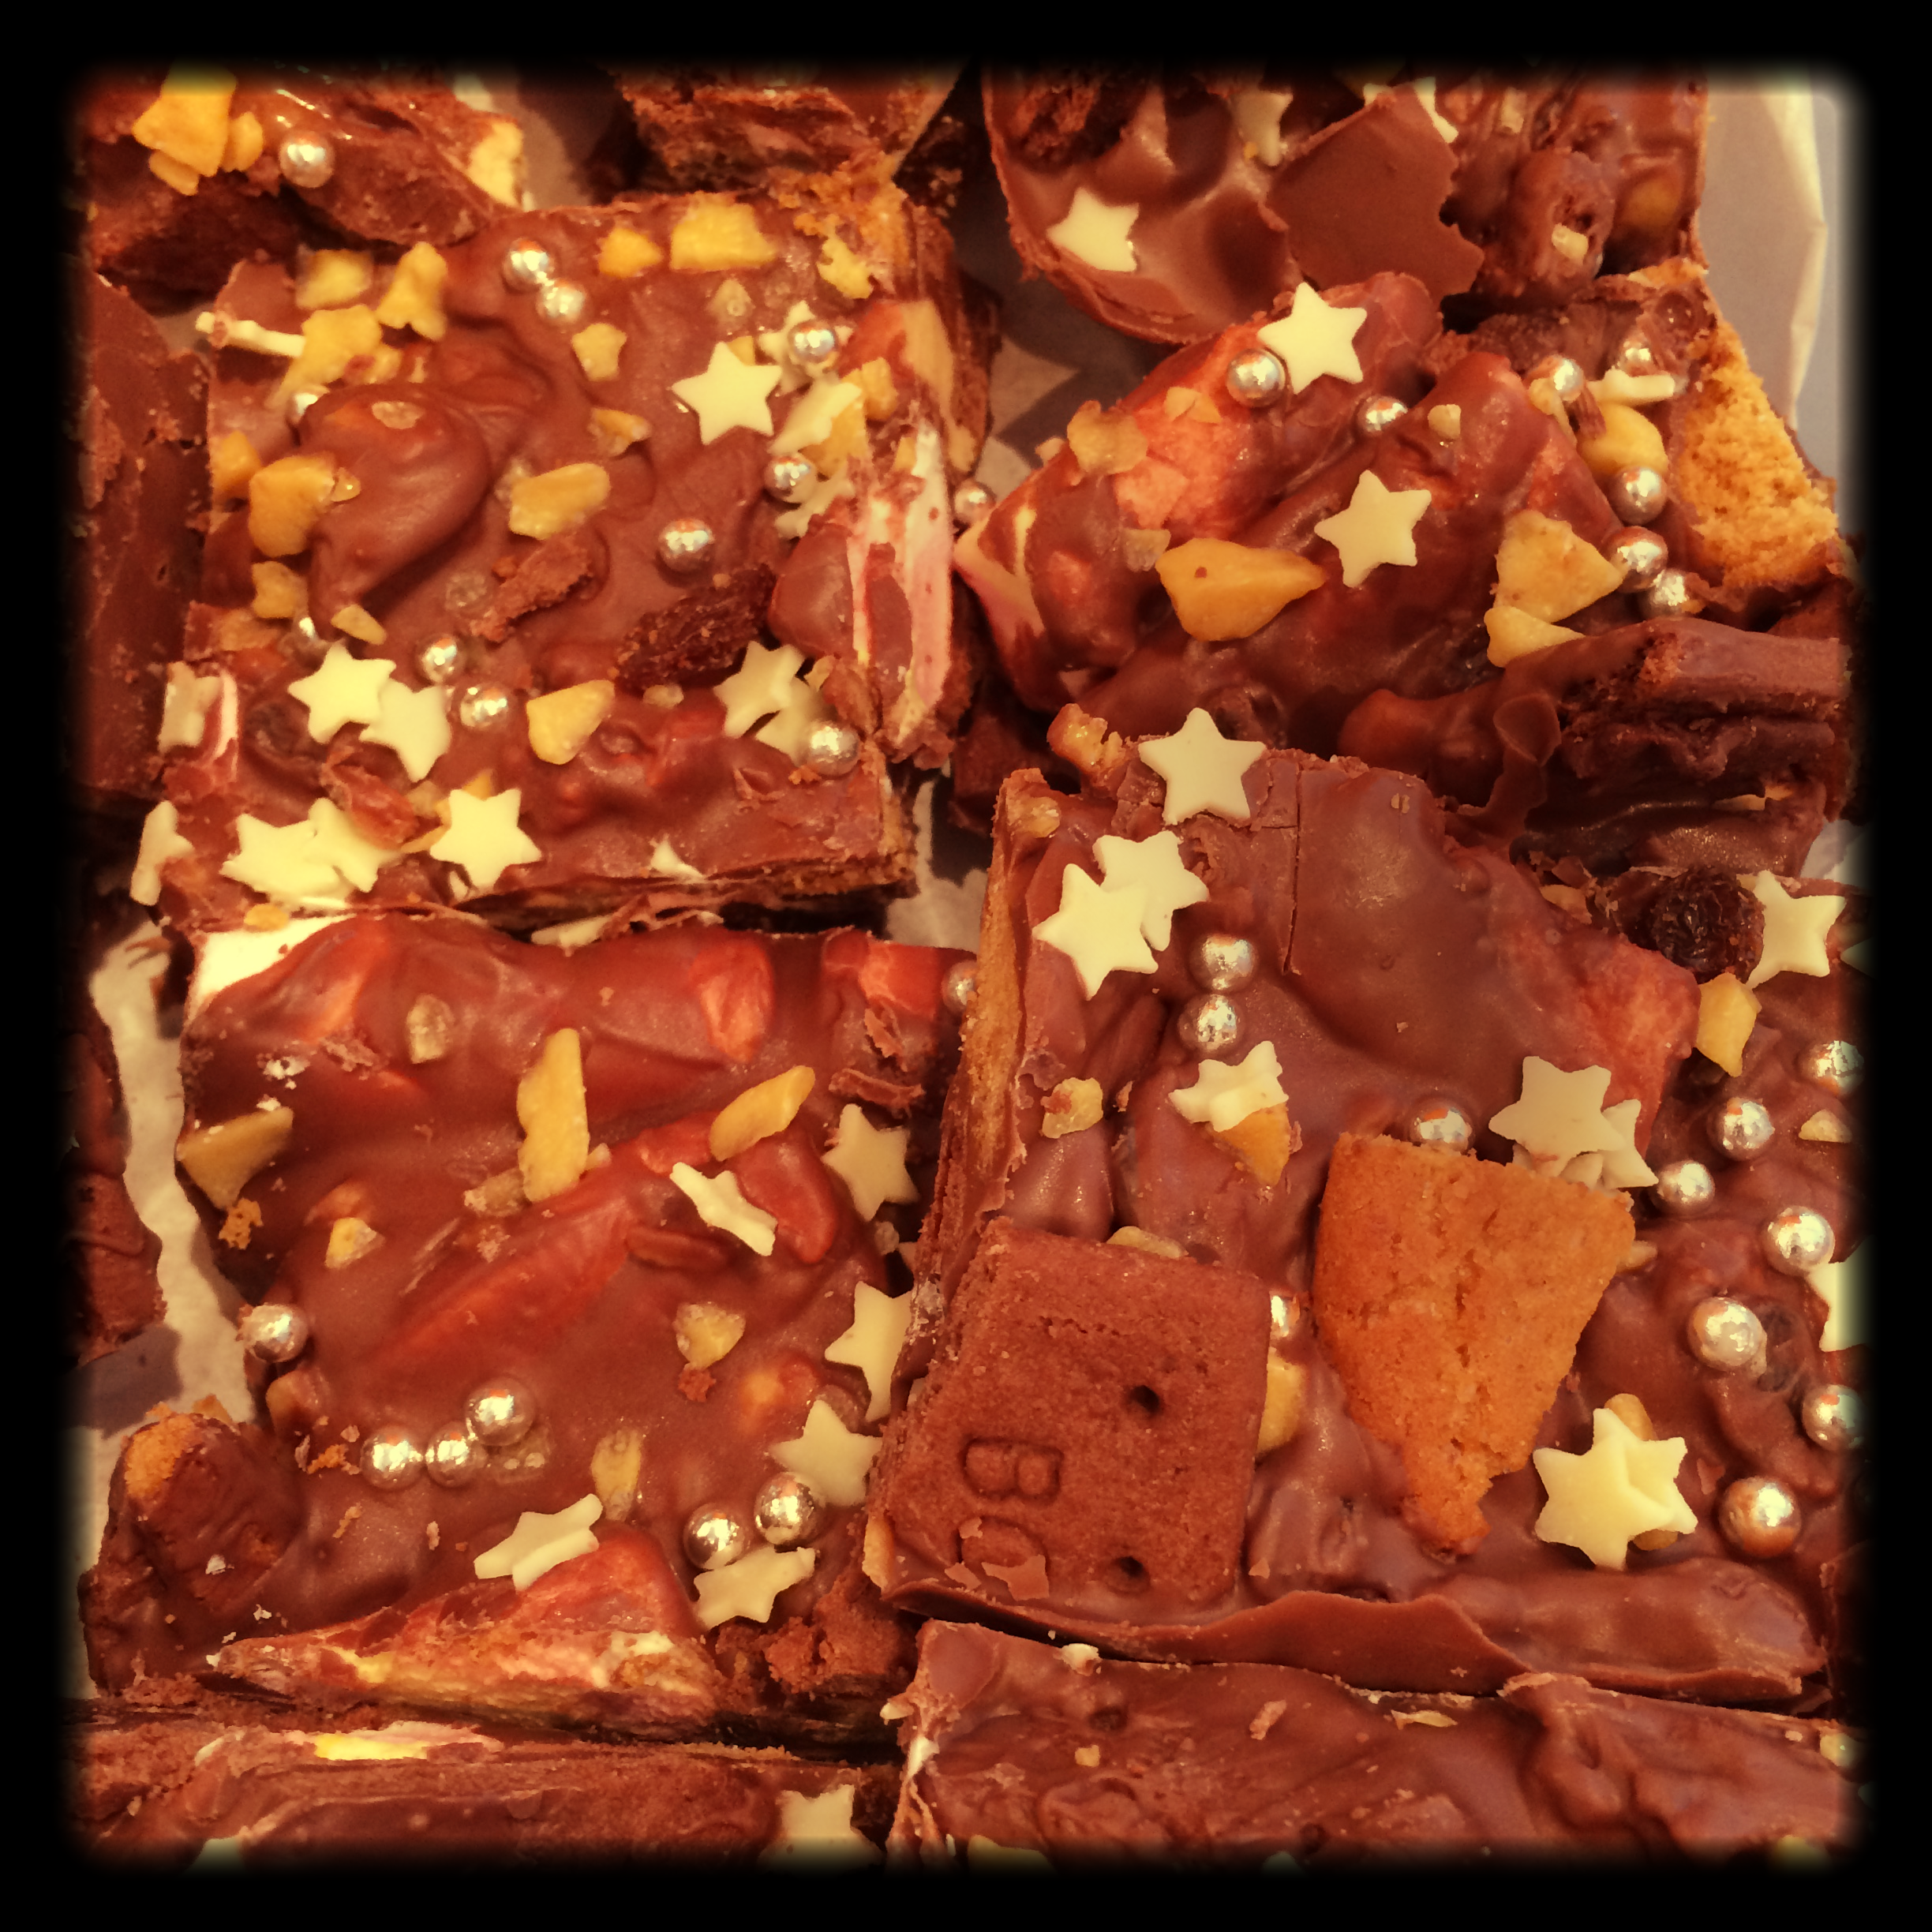
As well as making my dress, I helped decorate the venue with 25 metres of home made bunting in lace and hessian with matching table runners, and helped feed the guests with home made Rocky Road!